Hello again, friends. It has been two long weeks filled with building, family visits, Easter, and antiquing. I have so much to write about now! I guess I’ll begin where I left off….
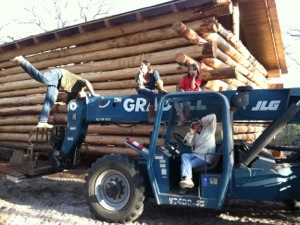
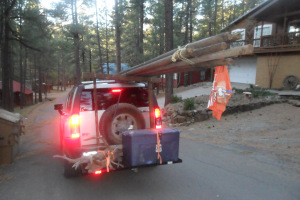
As you recall, T-Rex (my telehandler) left us (I’m still in mourning, by the way). Thank you for the many messages to us expressing your sorrow on my behalf (smile). I was touched (and laughed VERY hard). As you can imagine, building just hasn’t been the same without him (sigh…). But, it’s time to move on, I guess. It was great while it lasted. (One last token pic for posterity…)
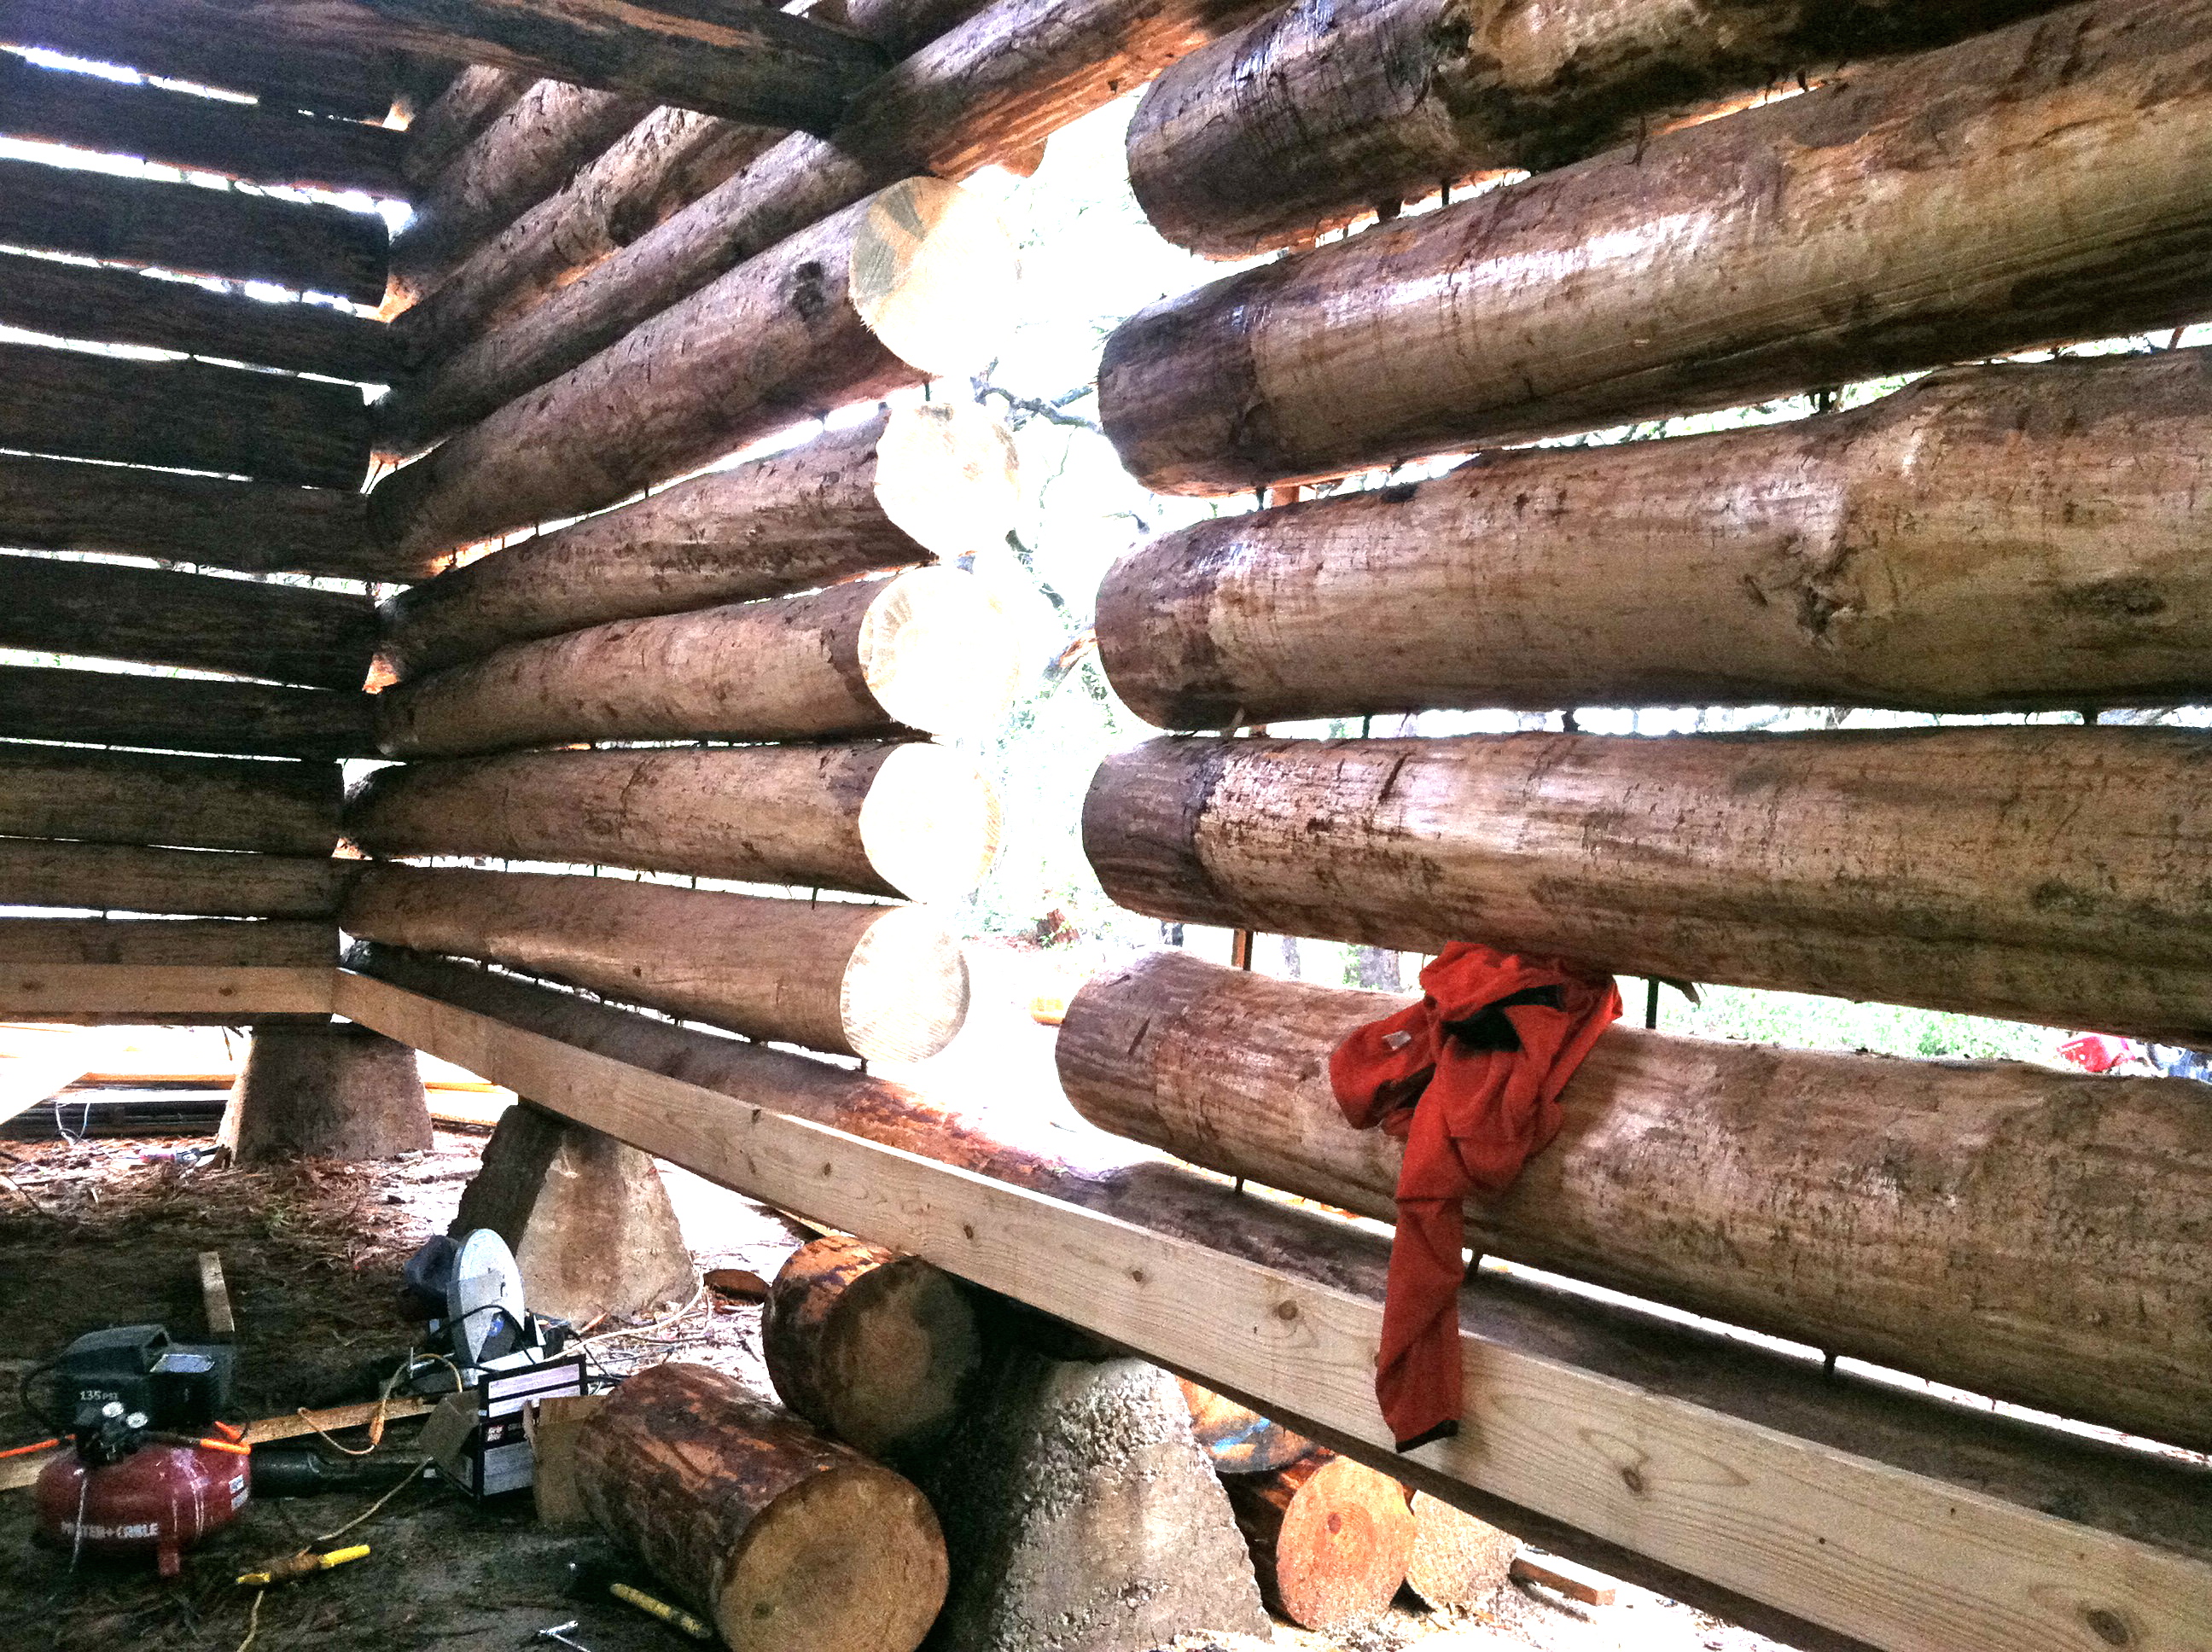
For those of you who are new to our blog and don’t know all the details yet, the darker stuff on the logs will not be there. The logs will be sanded soon, to be smooth and a bleached color (almost), and then we stain. They will be smooth, have a luster, and be the stain color.
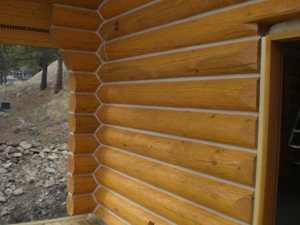
We had been pressure washing the logs, but then Steve remembered that we will have to sand them anyway, to get the hairs of wood and imperfections off…and that brownish coating comes off with sanding. So, we’ll kill 2 birds with one stone, and stopped pressure washing. The finished logs will look like this (depending on the stain)…

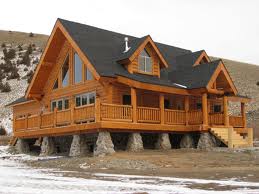
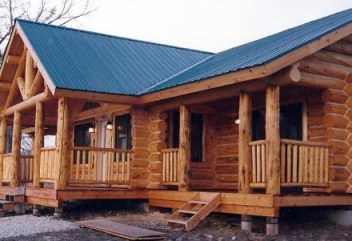
The “plan” is for the outside color and architecture of the house to look like this…(minus the dormers), with a green metal roof, and rock fireplace on front left
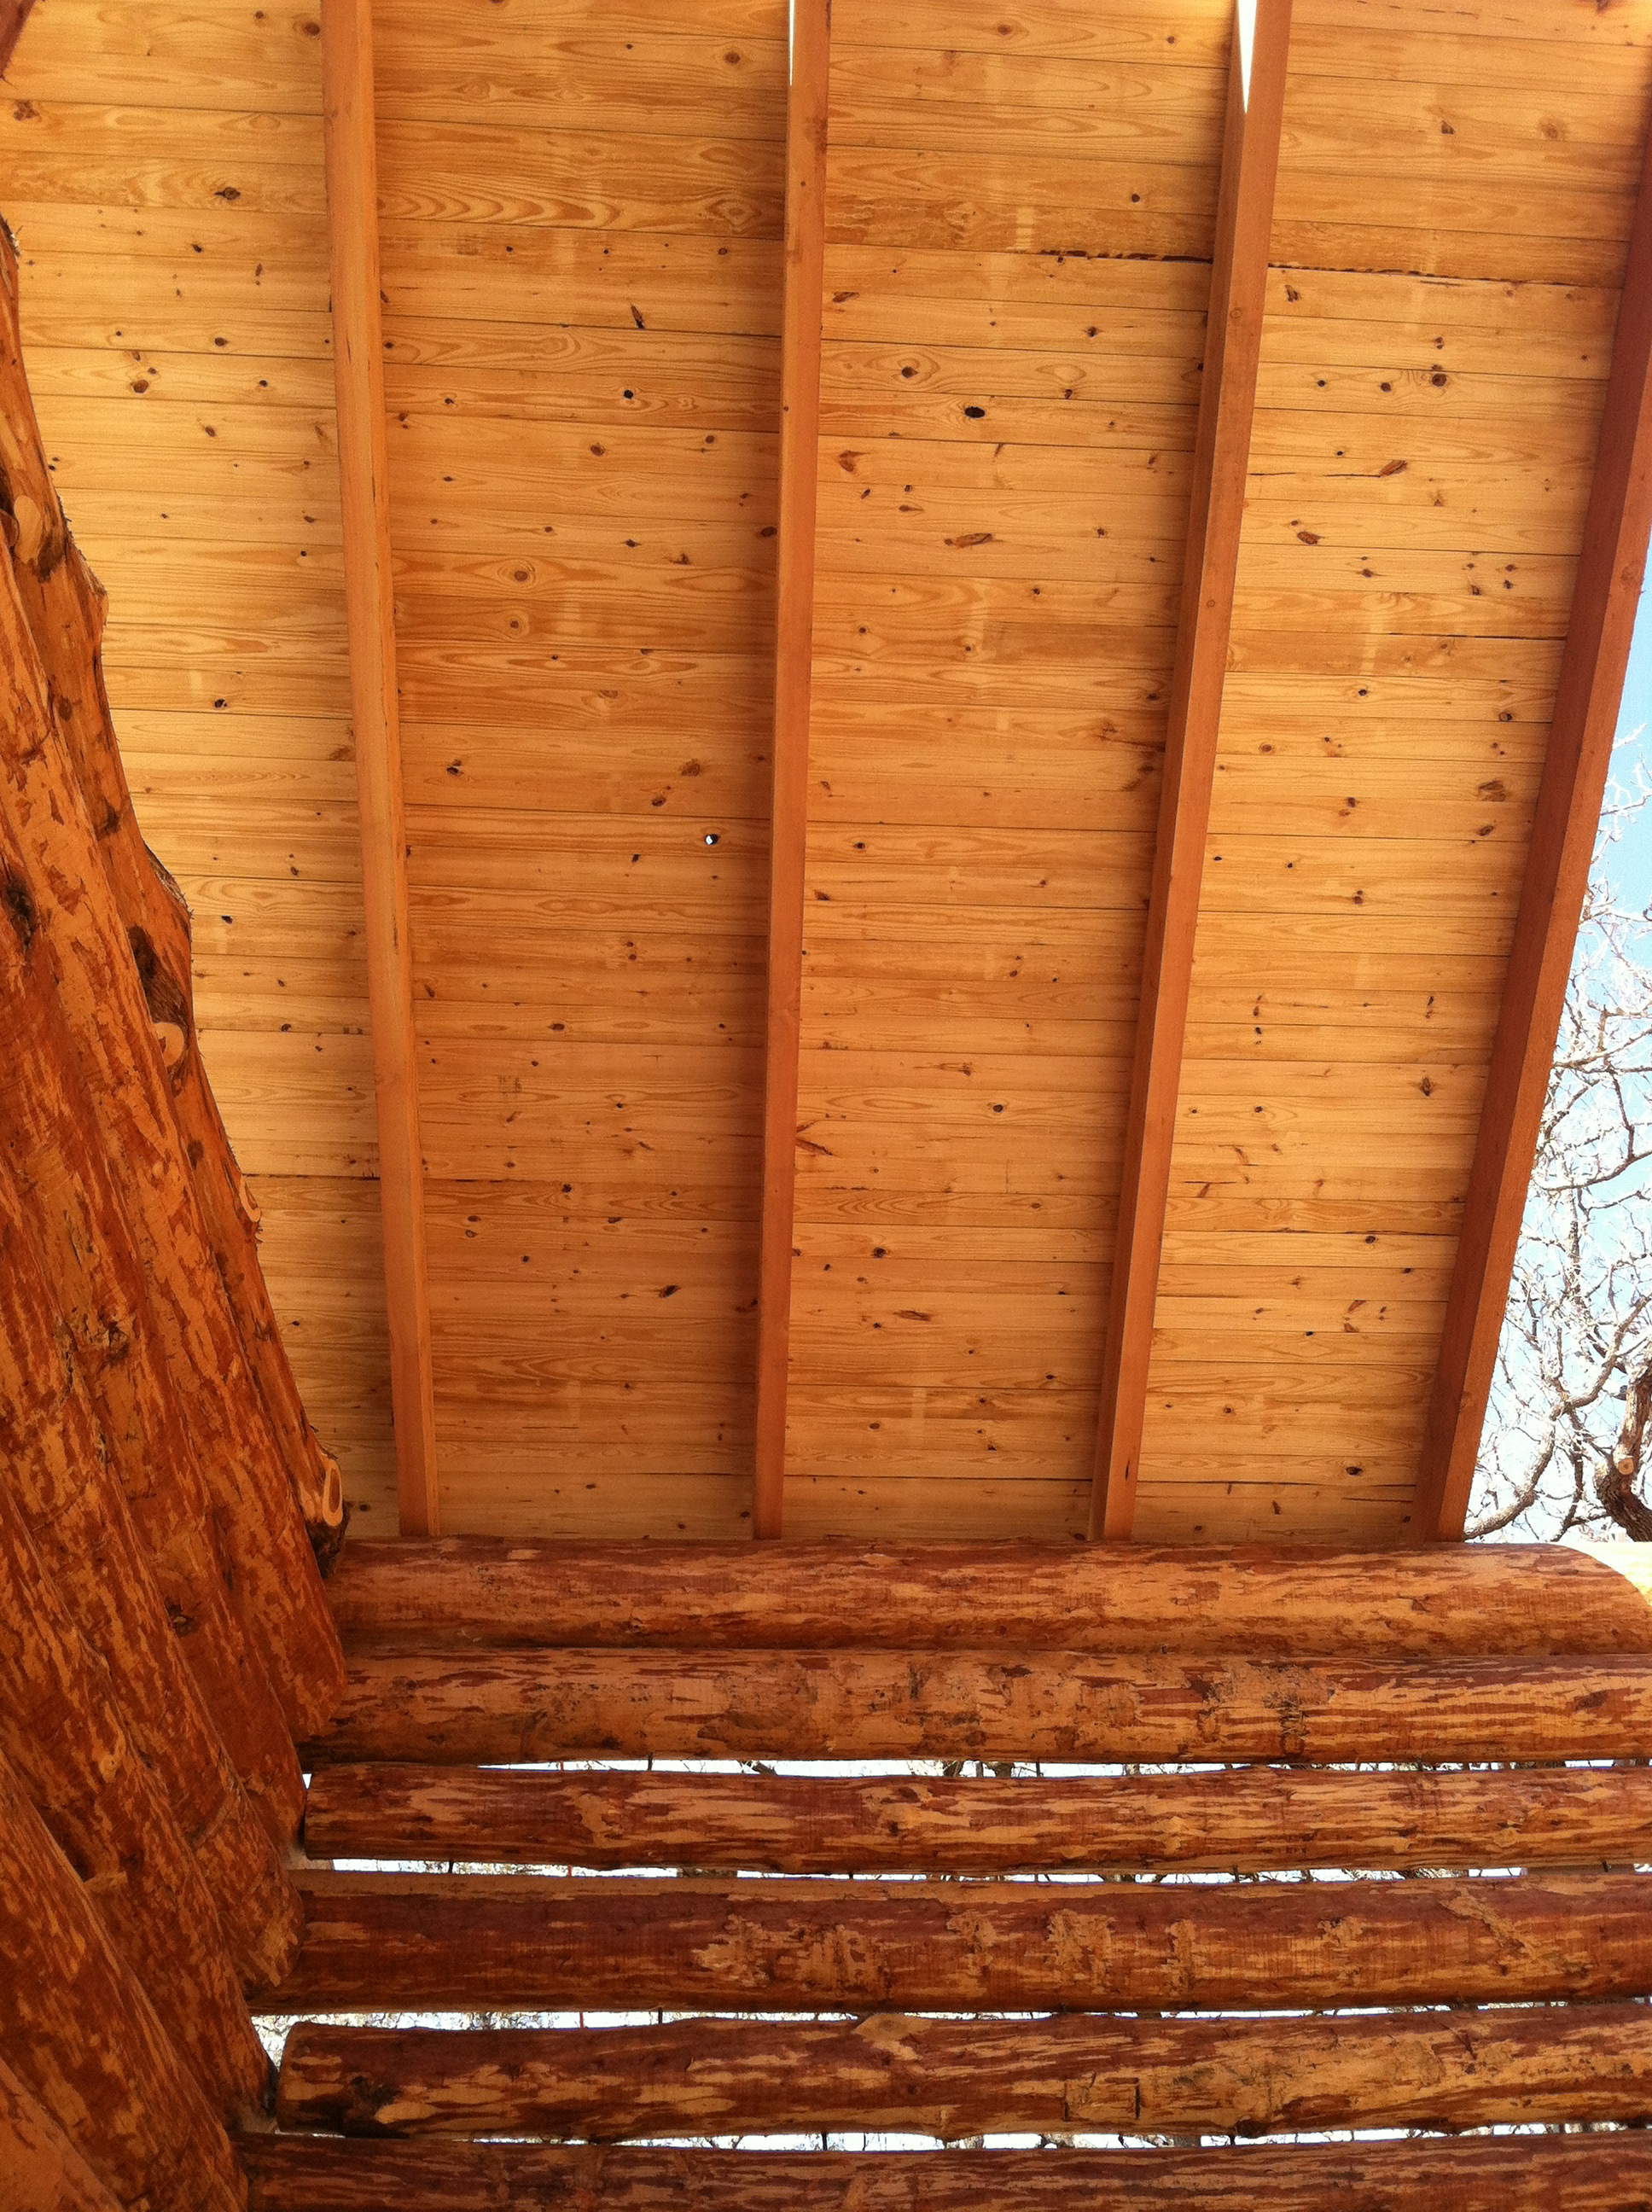
But as for now, all this time, the house has looked like this…(the big triangles on each end will be cedar shingles, and windows on opposite end, like picture above).
There will be mortar between the logs, sealing it all. That comes later, as well. Or, I guess I could say that the seperated logs make for Texas air-conditioning!

“Chinking” is the name for the mortar between the logs. It can be white, or a cream color, to blend in more with the logs. Here’s a general idea…

Seems like we’re a LOOOOONG way off from our plan…but maybe not?
I think one of the most frequent questions we’ve been asked along the way by “log lookers” (we affectionately call those who drive by slowly and rubber neck, or flat out park in front of the land and watch, or even enter and walk around!) is, “What about doors and windows?”
Our desired response is to try to keep from smiling while we claim to be building a fort for the world’s end, or a cult gathering place. But, we smile and explain that they get cut out after we’re done stacking logs and getting the roof up.
Really, there’s no hurry to cut them out. One huge difference between this kind of structure and usual ones is that the interior walls (bedrooms, etc) don’t get put in until after it’s erected, because none of them is load bearing. Therefore, we can decide after building where the rooms should be, how big they will be, and how to arrange them.
We built the house we’re currently living in, and we had full floorplans, etc. It was nice to see the room arrangements on paper, see where windows would be, and so on. This is very different. Even I’m trying to get used to the fact that I have no idea where our walls are…as of yet. (In fact, I’m trying not to STRESS OUT over it!)
As box-ish as the house looks now, and in dire need of windows and doors to make it look remotely like a home, we still don’t know where exactly to place windows, until the floor is complete, and then we can walk around deciding where bedrooms, closets, bathrooms, etc, walls are going to be…and thus, windows. (Patience, Gretty, patience.)
But, Steve and I aren’t quite as young as we used to be. ( I”m 2 weeks older than my Stallion of a husband…and I creak a bit more, too.) We are getting very weary of CRAWLING under the house every time we need to get in there. And, watching every visitor…plus his 80-year old aunt and uncle, and 70-year old mother crawl under the walls (though extremely impressive and somewhat comical) cinched it. It finally came time to cut out the front door.
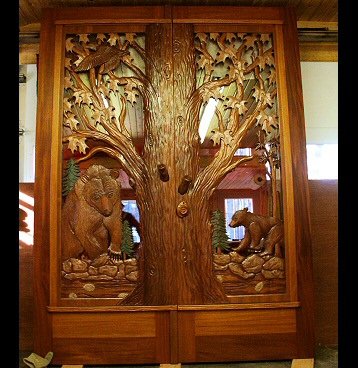
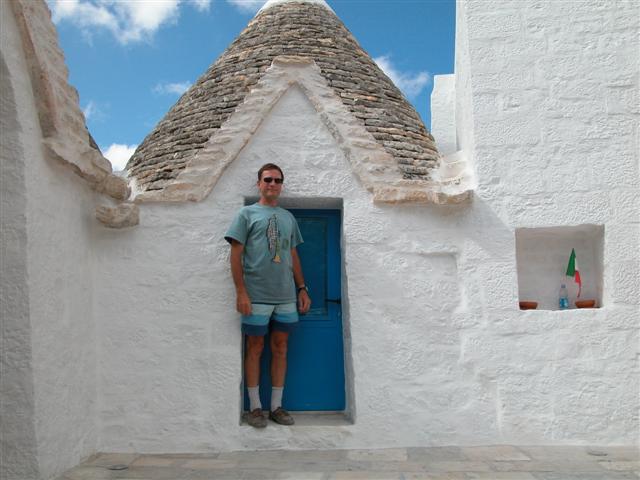
Doors are highly under-appreciated…until you don’t have one. If you think about it, it’s just a way to more easily get into a structure, or pass through to where you want to go…but a door can be so much more than that! A door can be art…


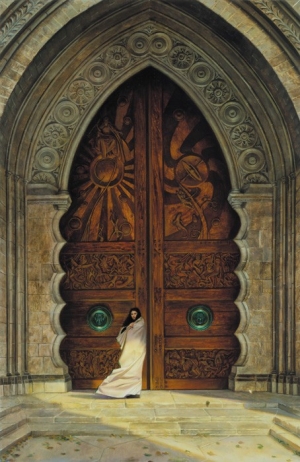
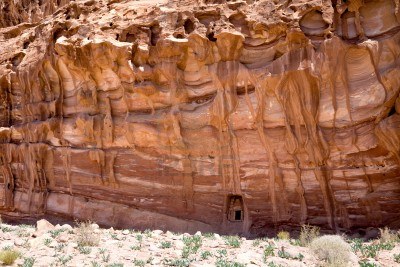
Doors can be small or enormous…


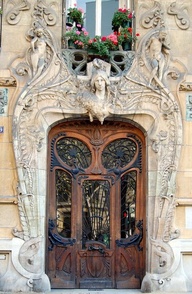
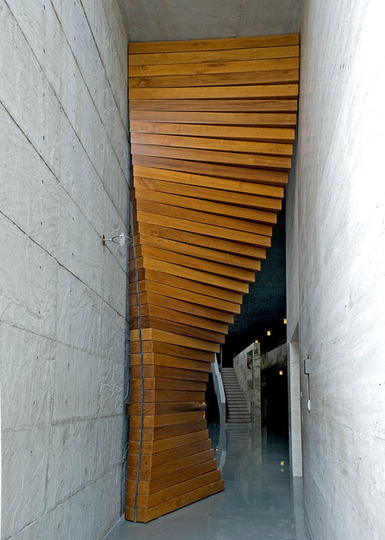
Doors can be so unusual…that you just want to see what’s on the other side of it, and enter through. (WHAT could be in there??)


Let’s not forget the doors for our furry friends…

In fact, Jesus called Himself one. “Yes, I am the gate [door…to heaven]. Those who come in through me will be saved.” (John 10:9)

For all of these reasons and more, doors have always fascinated me. In fact, I’ve had a picture of one on my refrigerator for years, that my grandmother sent me.
So, you see, I can’t just have “a door.” It has to be A DOOR. Steve and I want to have a front door with impact! It’s the first thing you come to before entering our home.
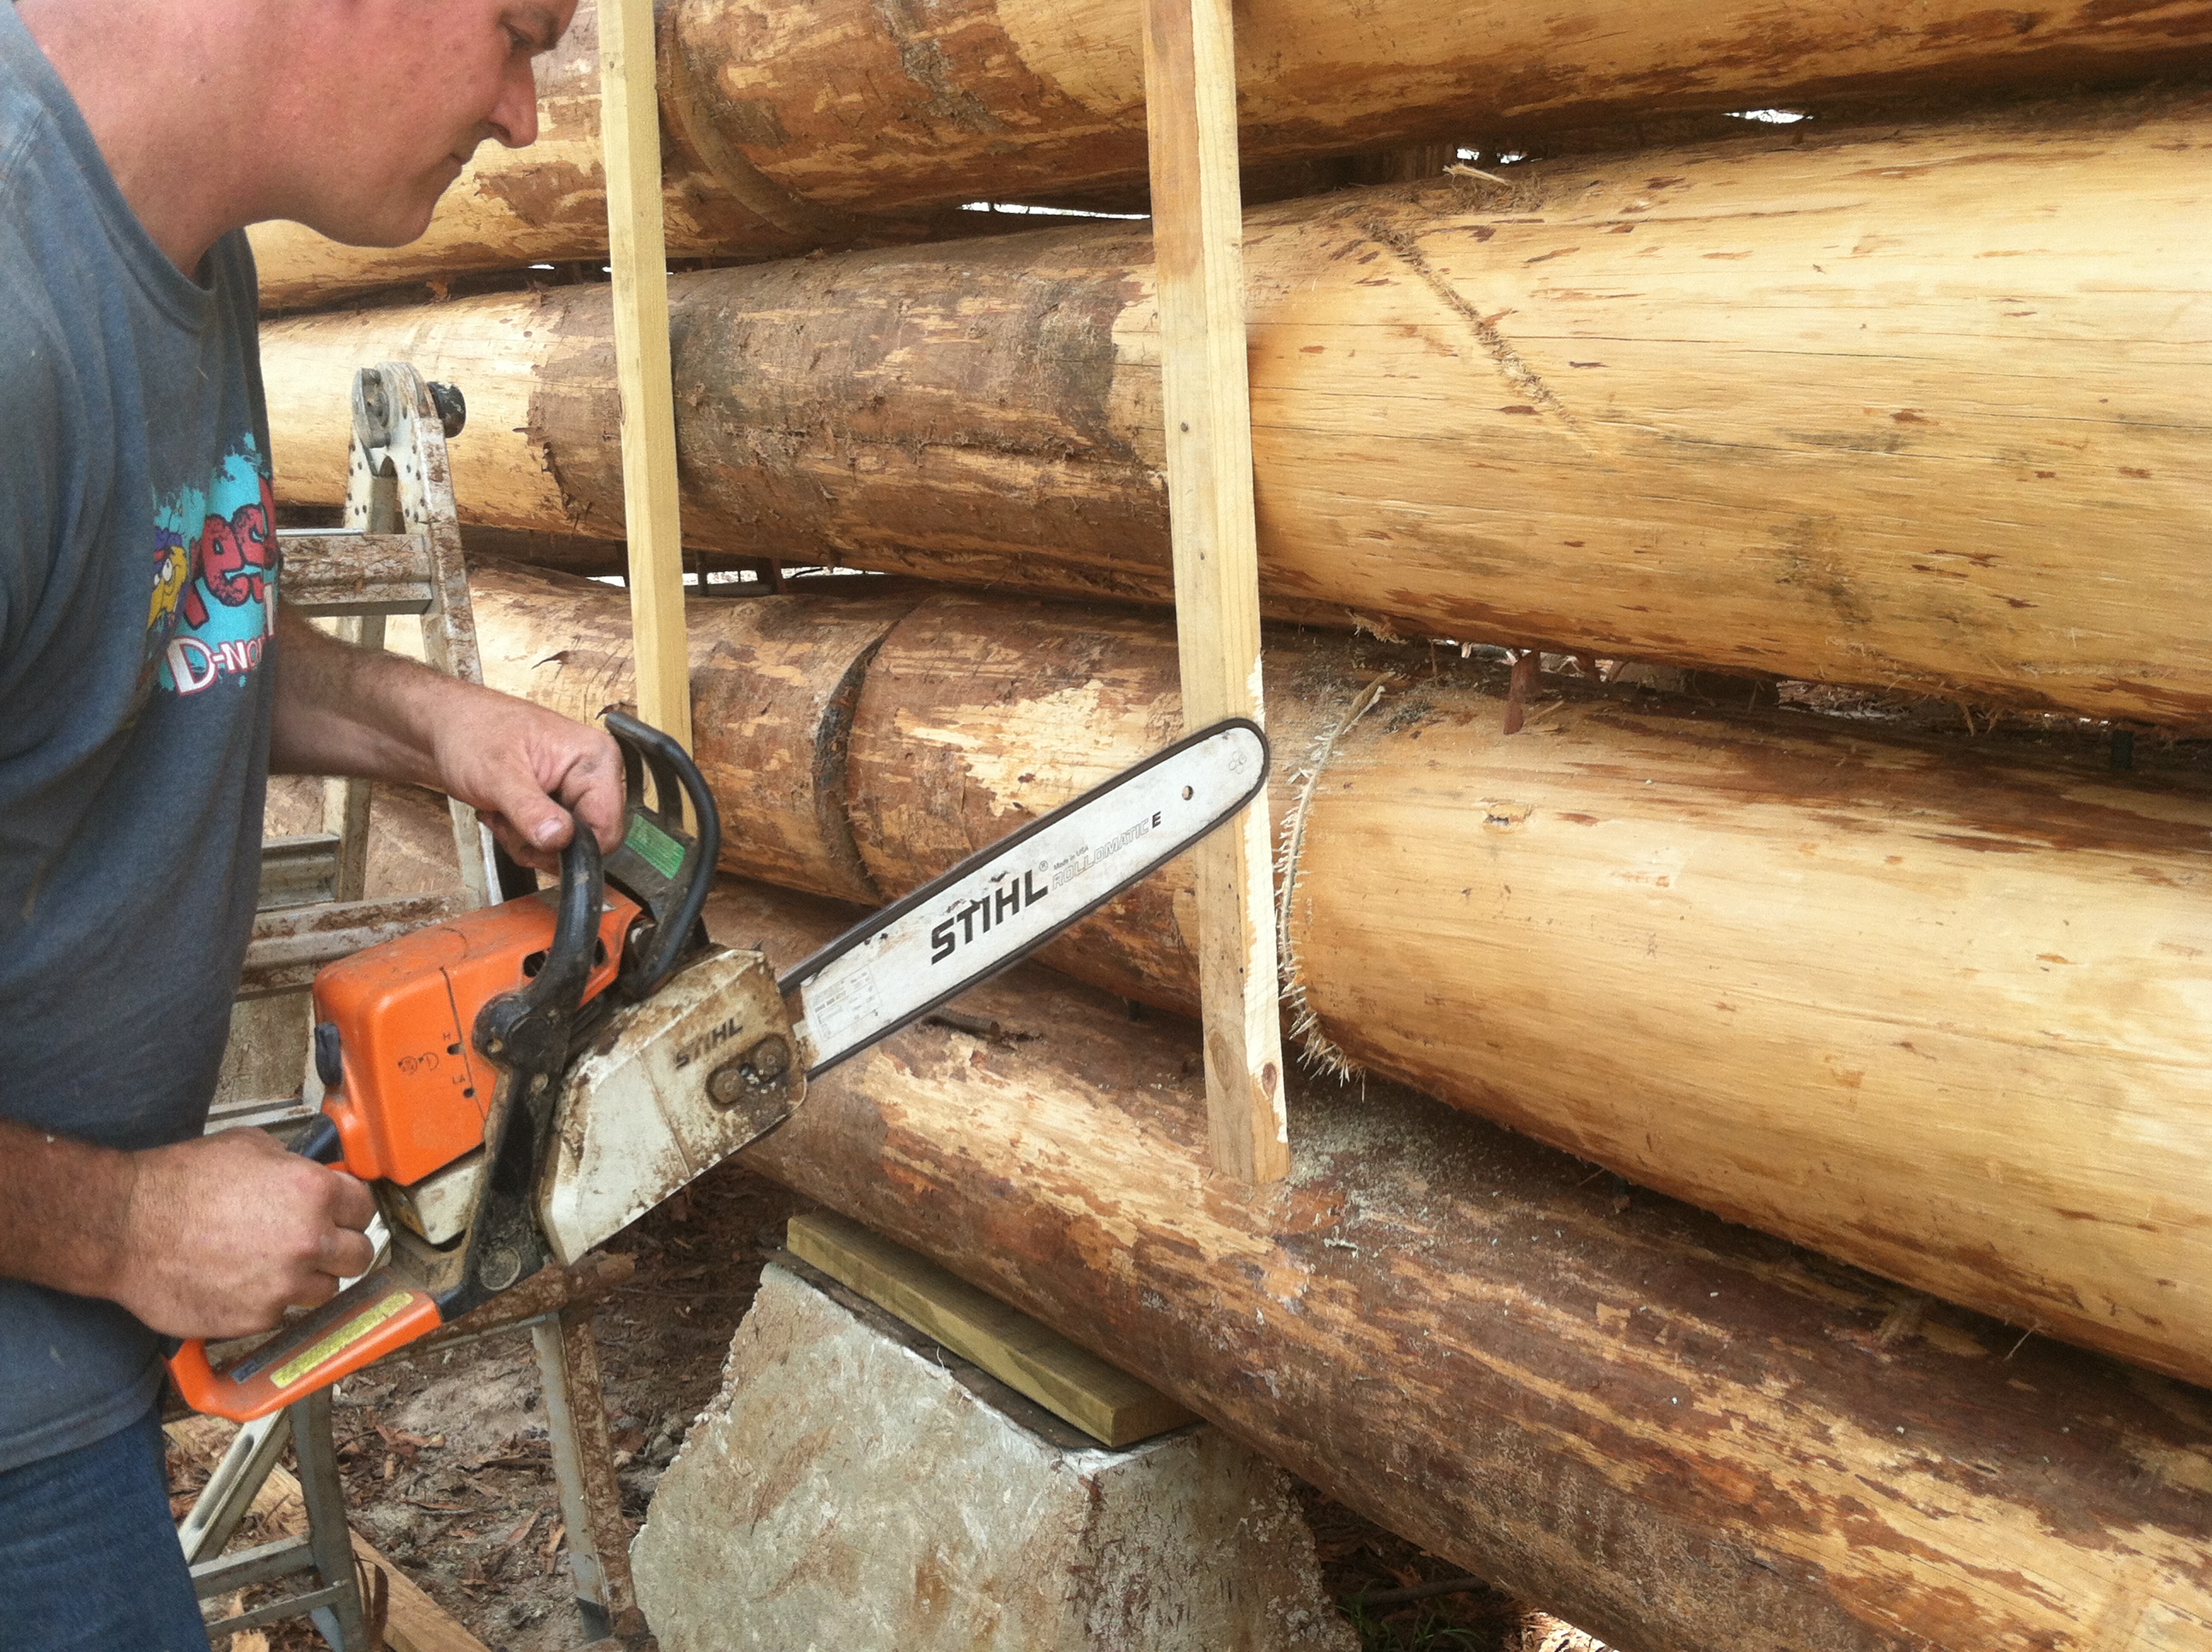
The one on our current house is extra tall and hard wood, for my 6’8″ Mountain Man to pass through without hitting his noggin. What will this one be? I dunno, yet! (The pressure!!) Believe me….I’ve been thinking very hard about it and doing tons of research. But, step 1 is just to cut out the hole for it…
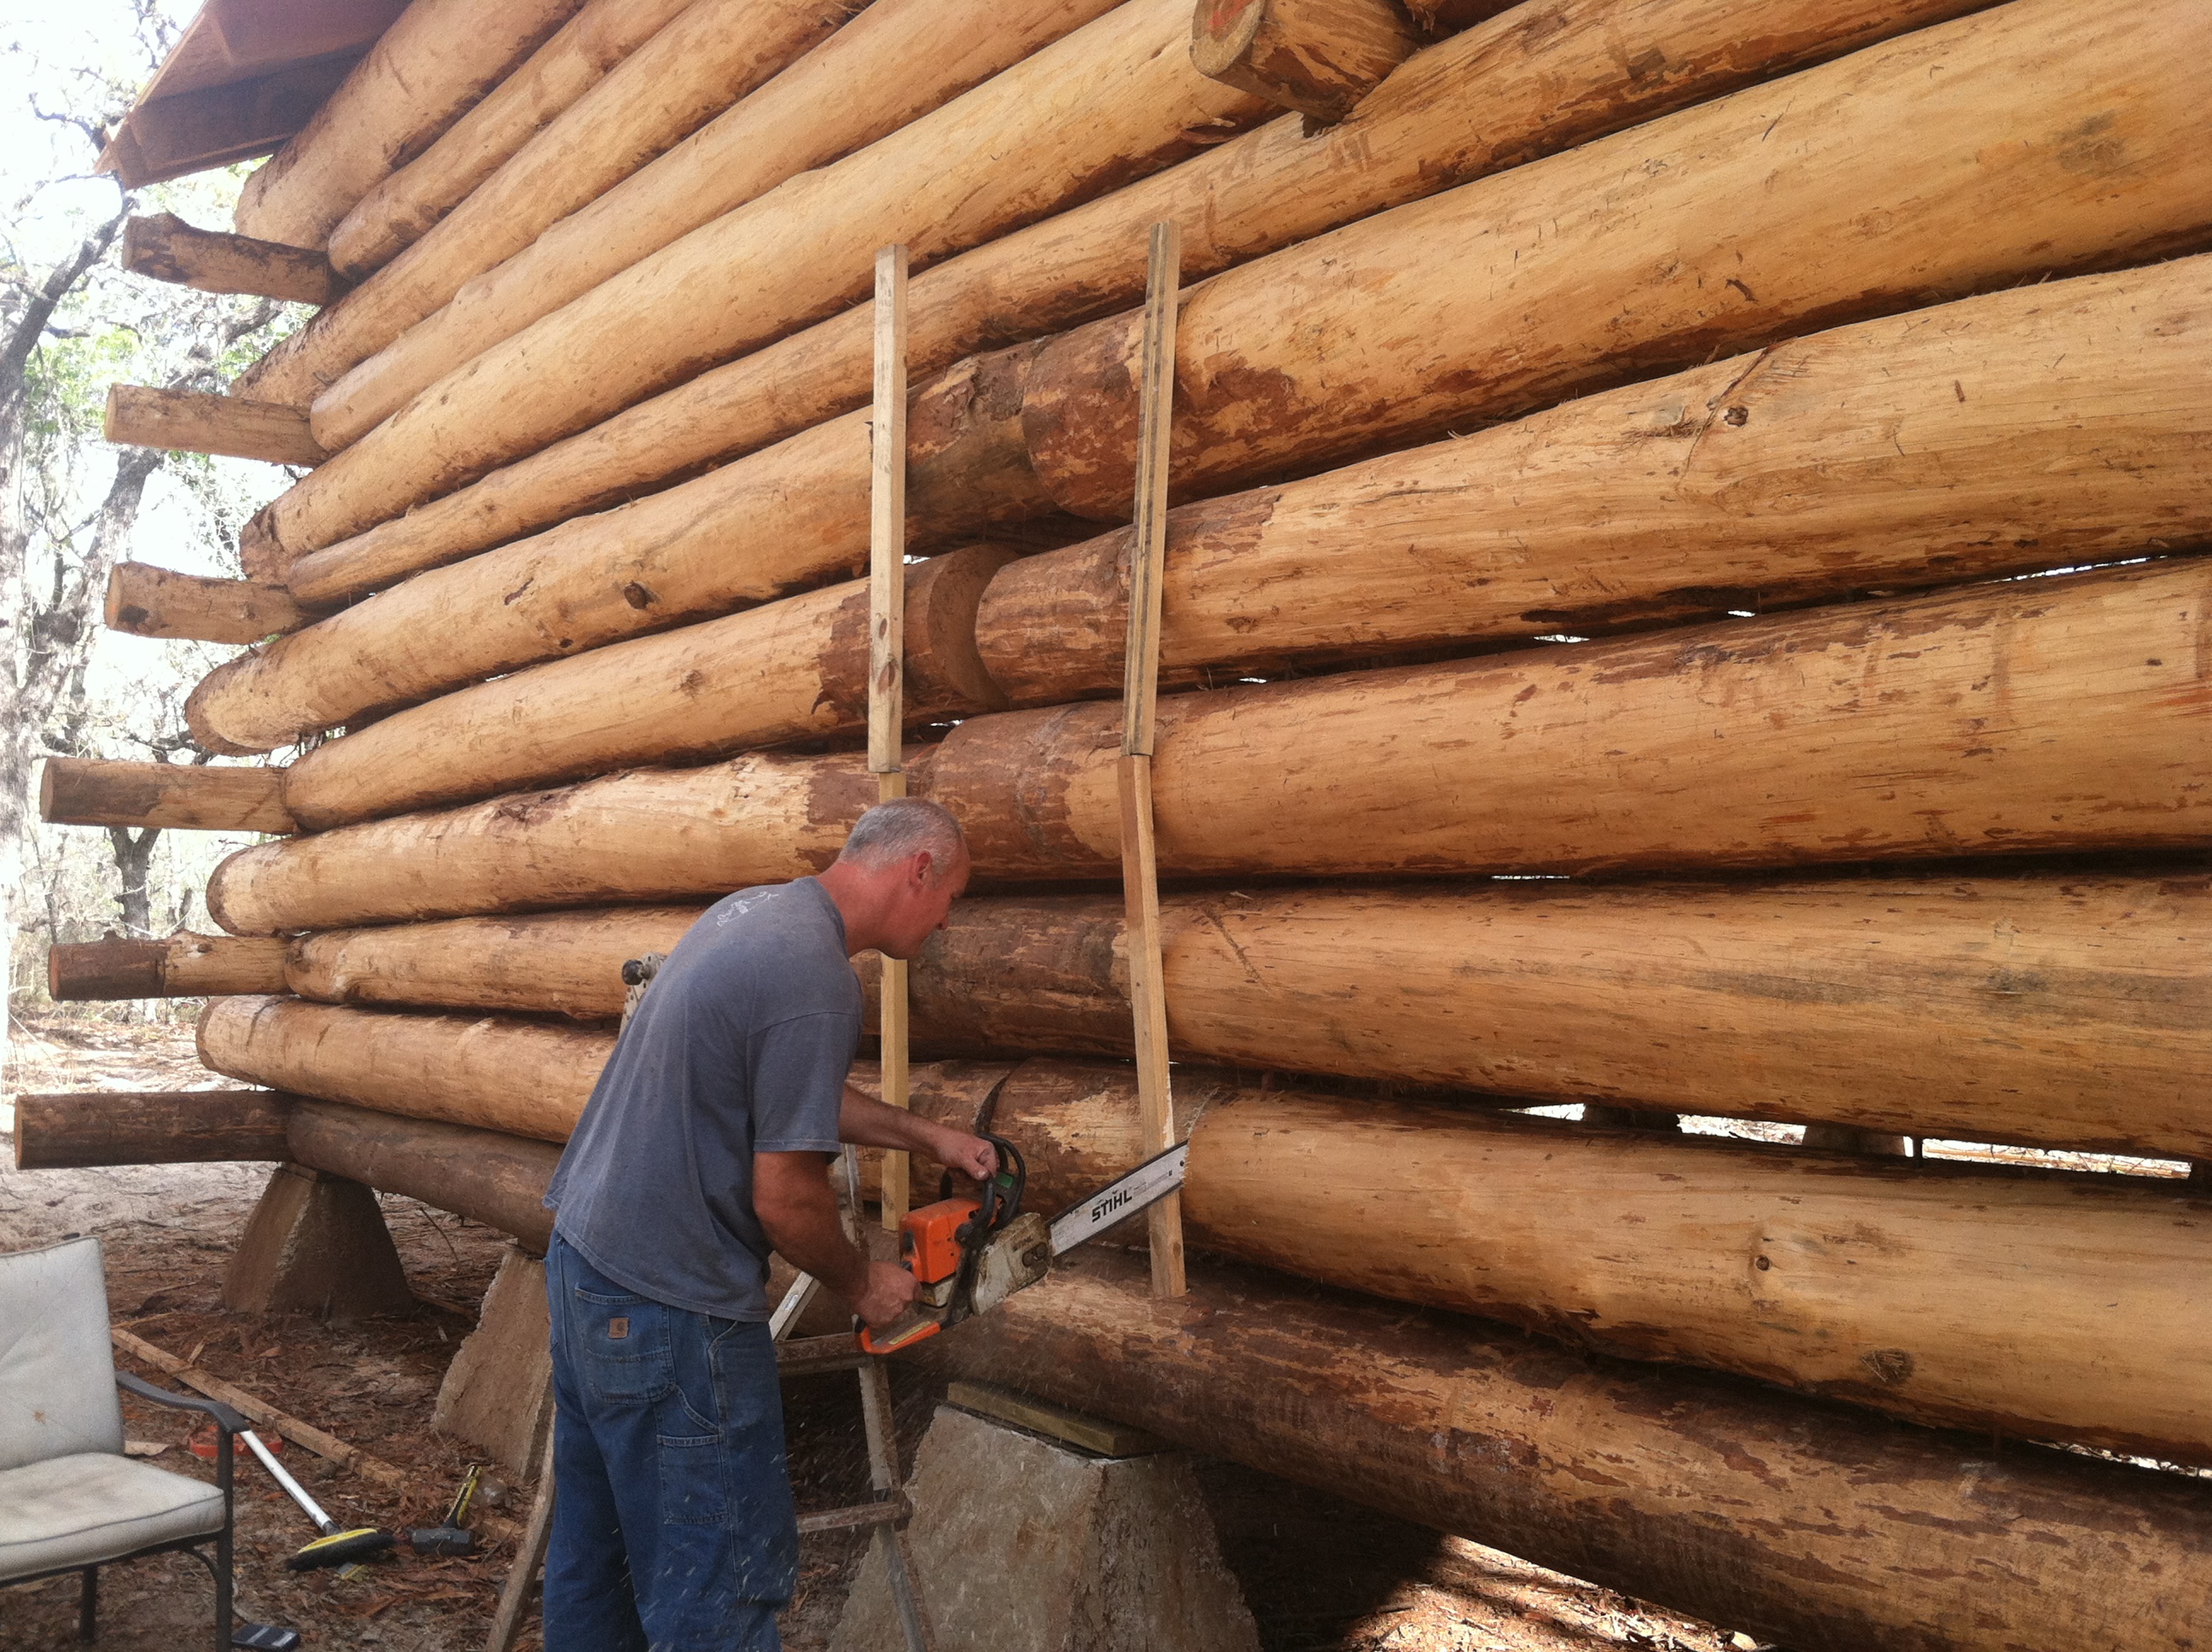

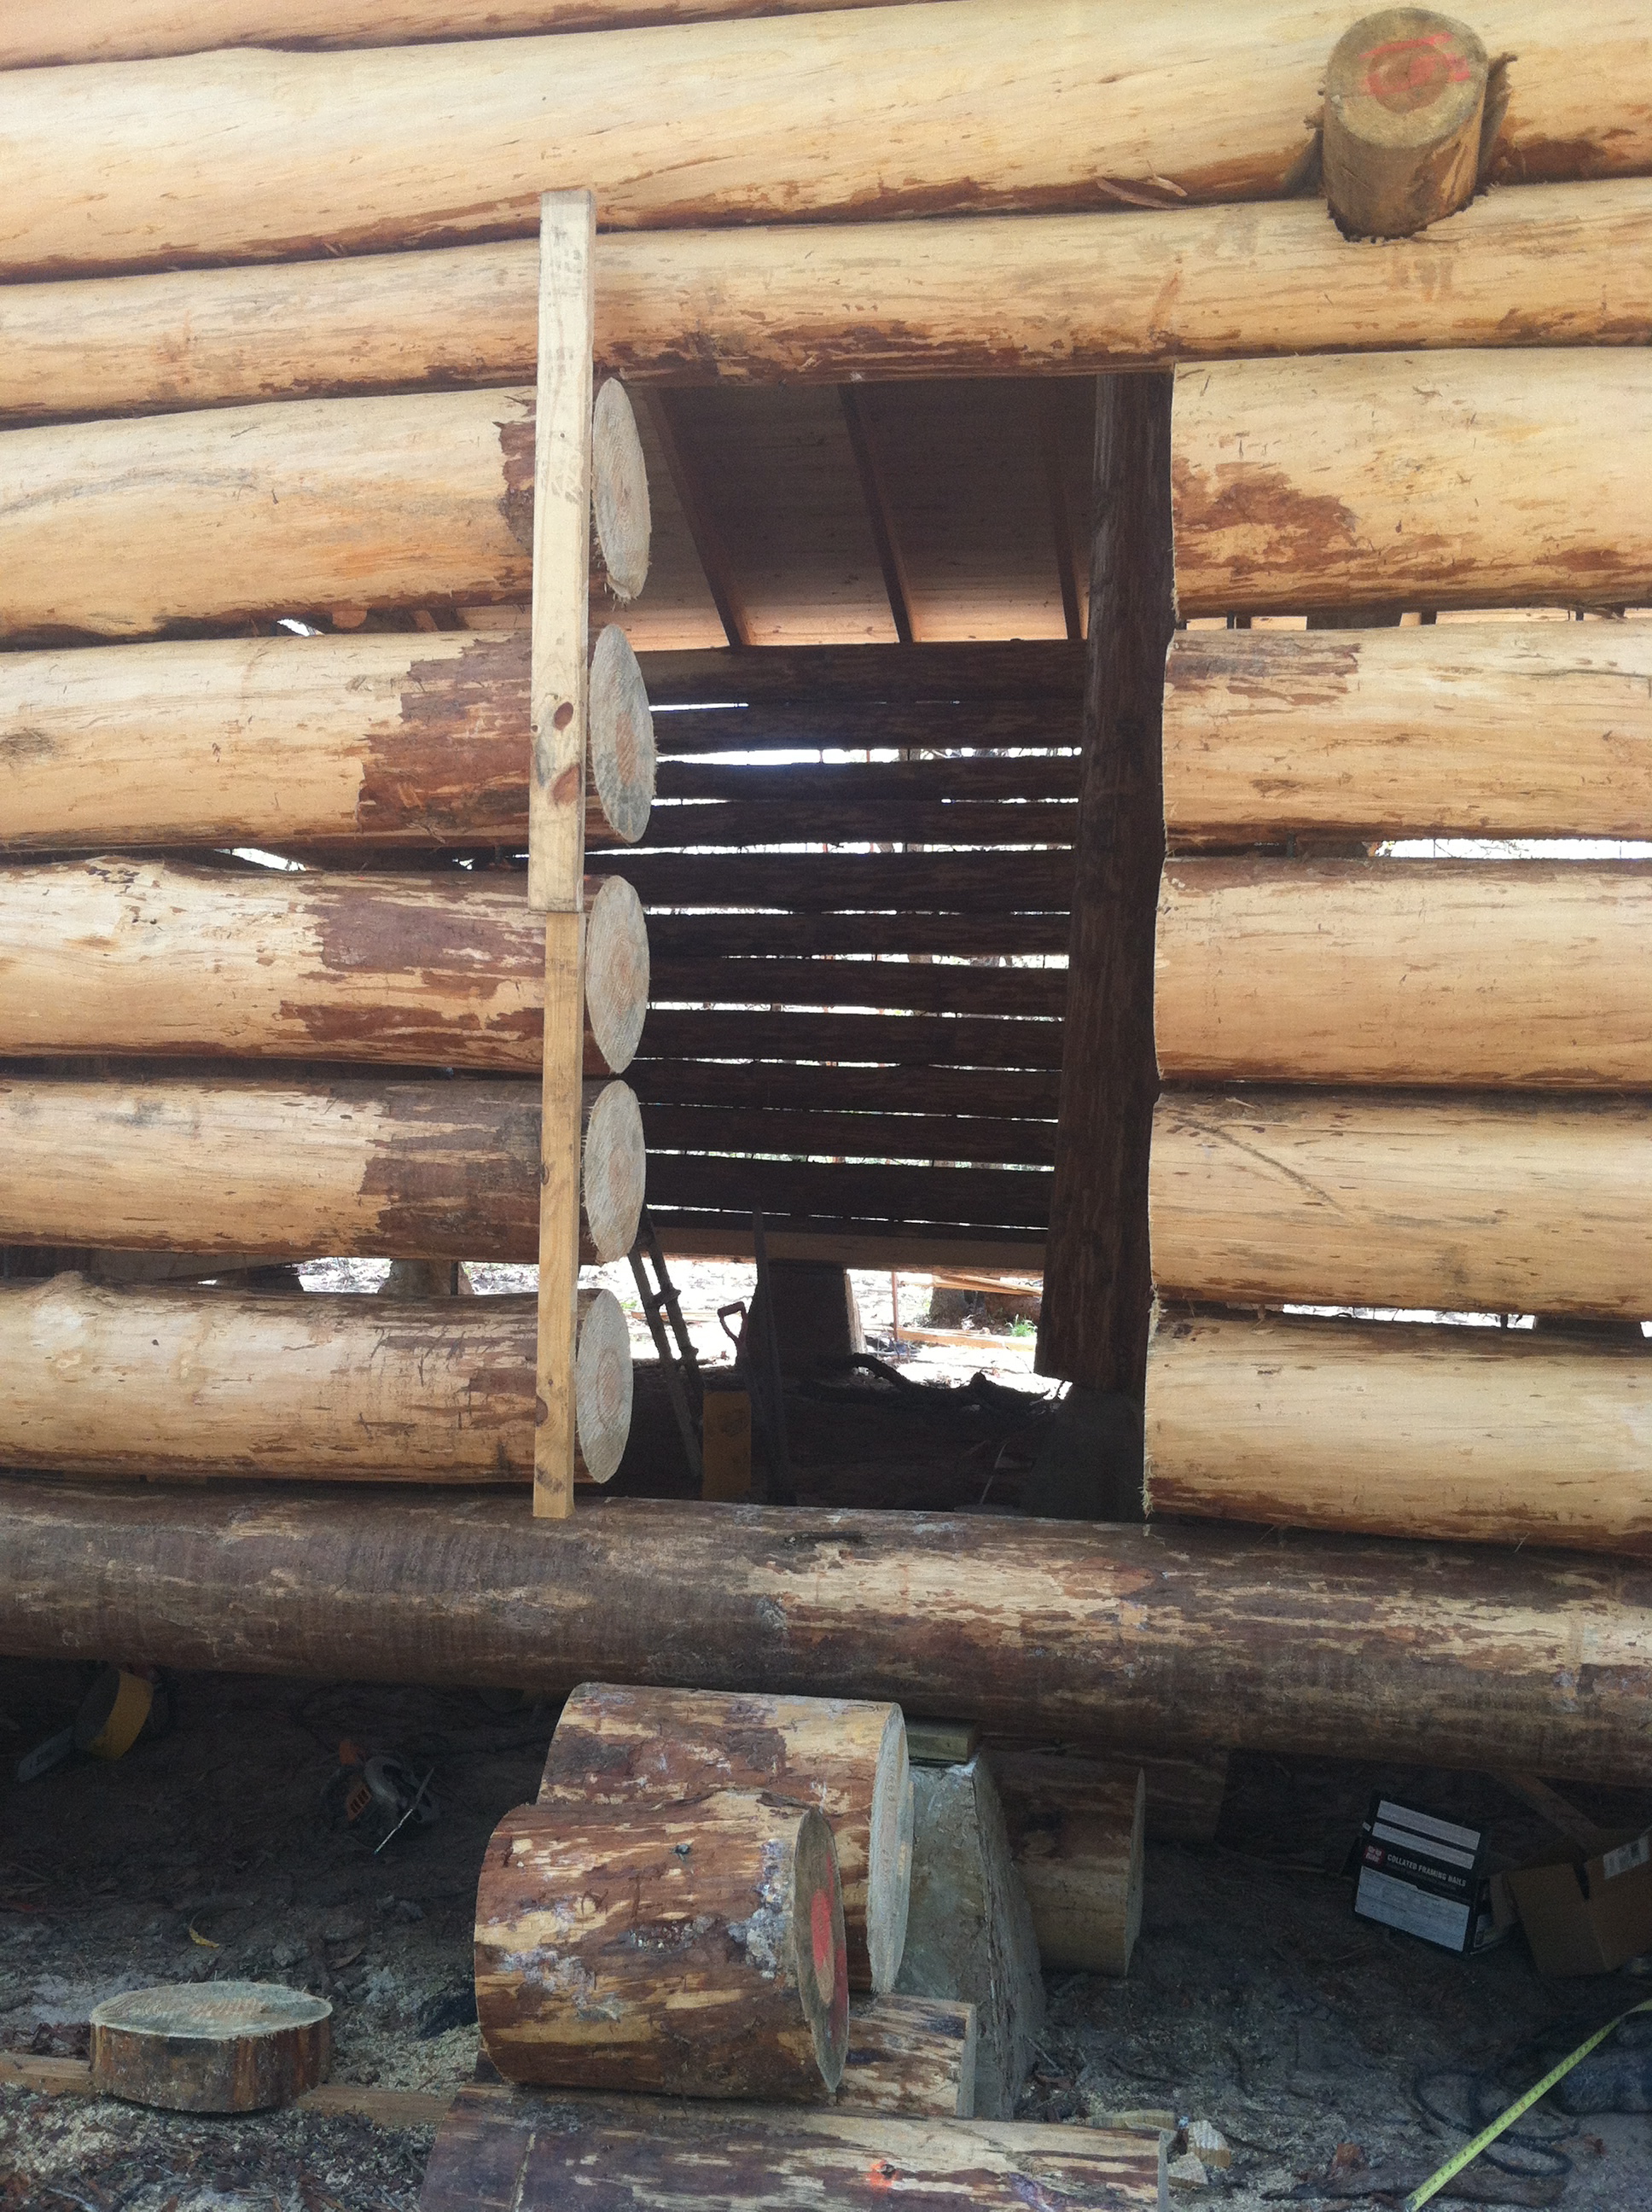
Now we have a doorway, but it never occurred to me that it would be so high up, and the base log would remain! We don’t have stairs yet (or the wrap-around covered porch). So, there’s a temporary stack of (dangerously and precariously) stacked logs at the entrance now…which I strongly urge visitors to climb upon with CAUTION, though Steve says they are safe. (eek) I’ll trust him. For now, I’ll call this a “pass through”. That’s about all it is.
The next change we made is the floor!
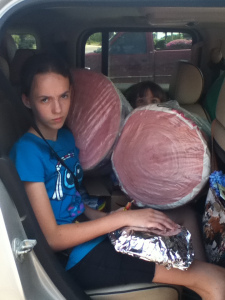
A week or so ago we went to Home Depot to buy the supplies to hold up the floor. I think we made quite the scene. See the yellow tubes…and the long cart of wood…and the one behind that? All ours.
Suddenly, flashbacks of bringing home our 25′ tall teepee poles came to mind. And, packing our car with insulation. (If you look up the the very first posting, called “Welcome to Cottonwood Creek”, you’ll read about both the teepee pole adventure, and squeezing my children into the crevices of the car with rolls and rolls of insulation packed around them. In fact, I’m not too proud to beg and grovel for you to read that first posting, and the subsequent ones about building our B&B. I think you’ll enjoy it.)


We paid at Home Depot, and now it was time to go. Hmmm…
I have to say, it’s moments such as these that I am THE most proud and extremely impressed with my Mountain Man hubby. I realize that every household has a “Master Packer” for road trips. But, I’d have to wager that my hubby is the winner. The things he has had to pack, cram, shove, shovel, sit on, etc, to get “it all” in the car stuns me.
I’m just surprised he needed the trailer. (grin)
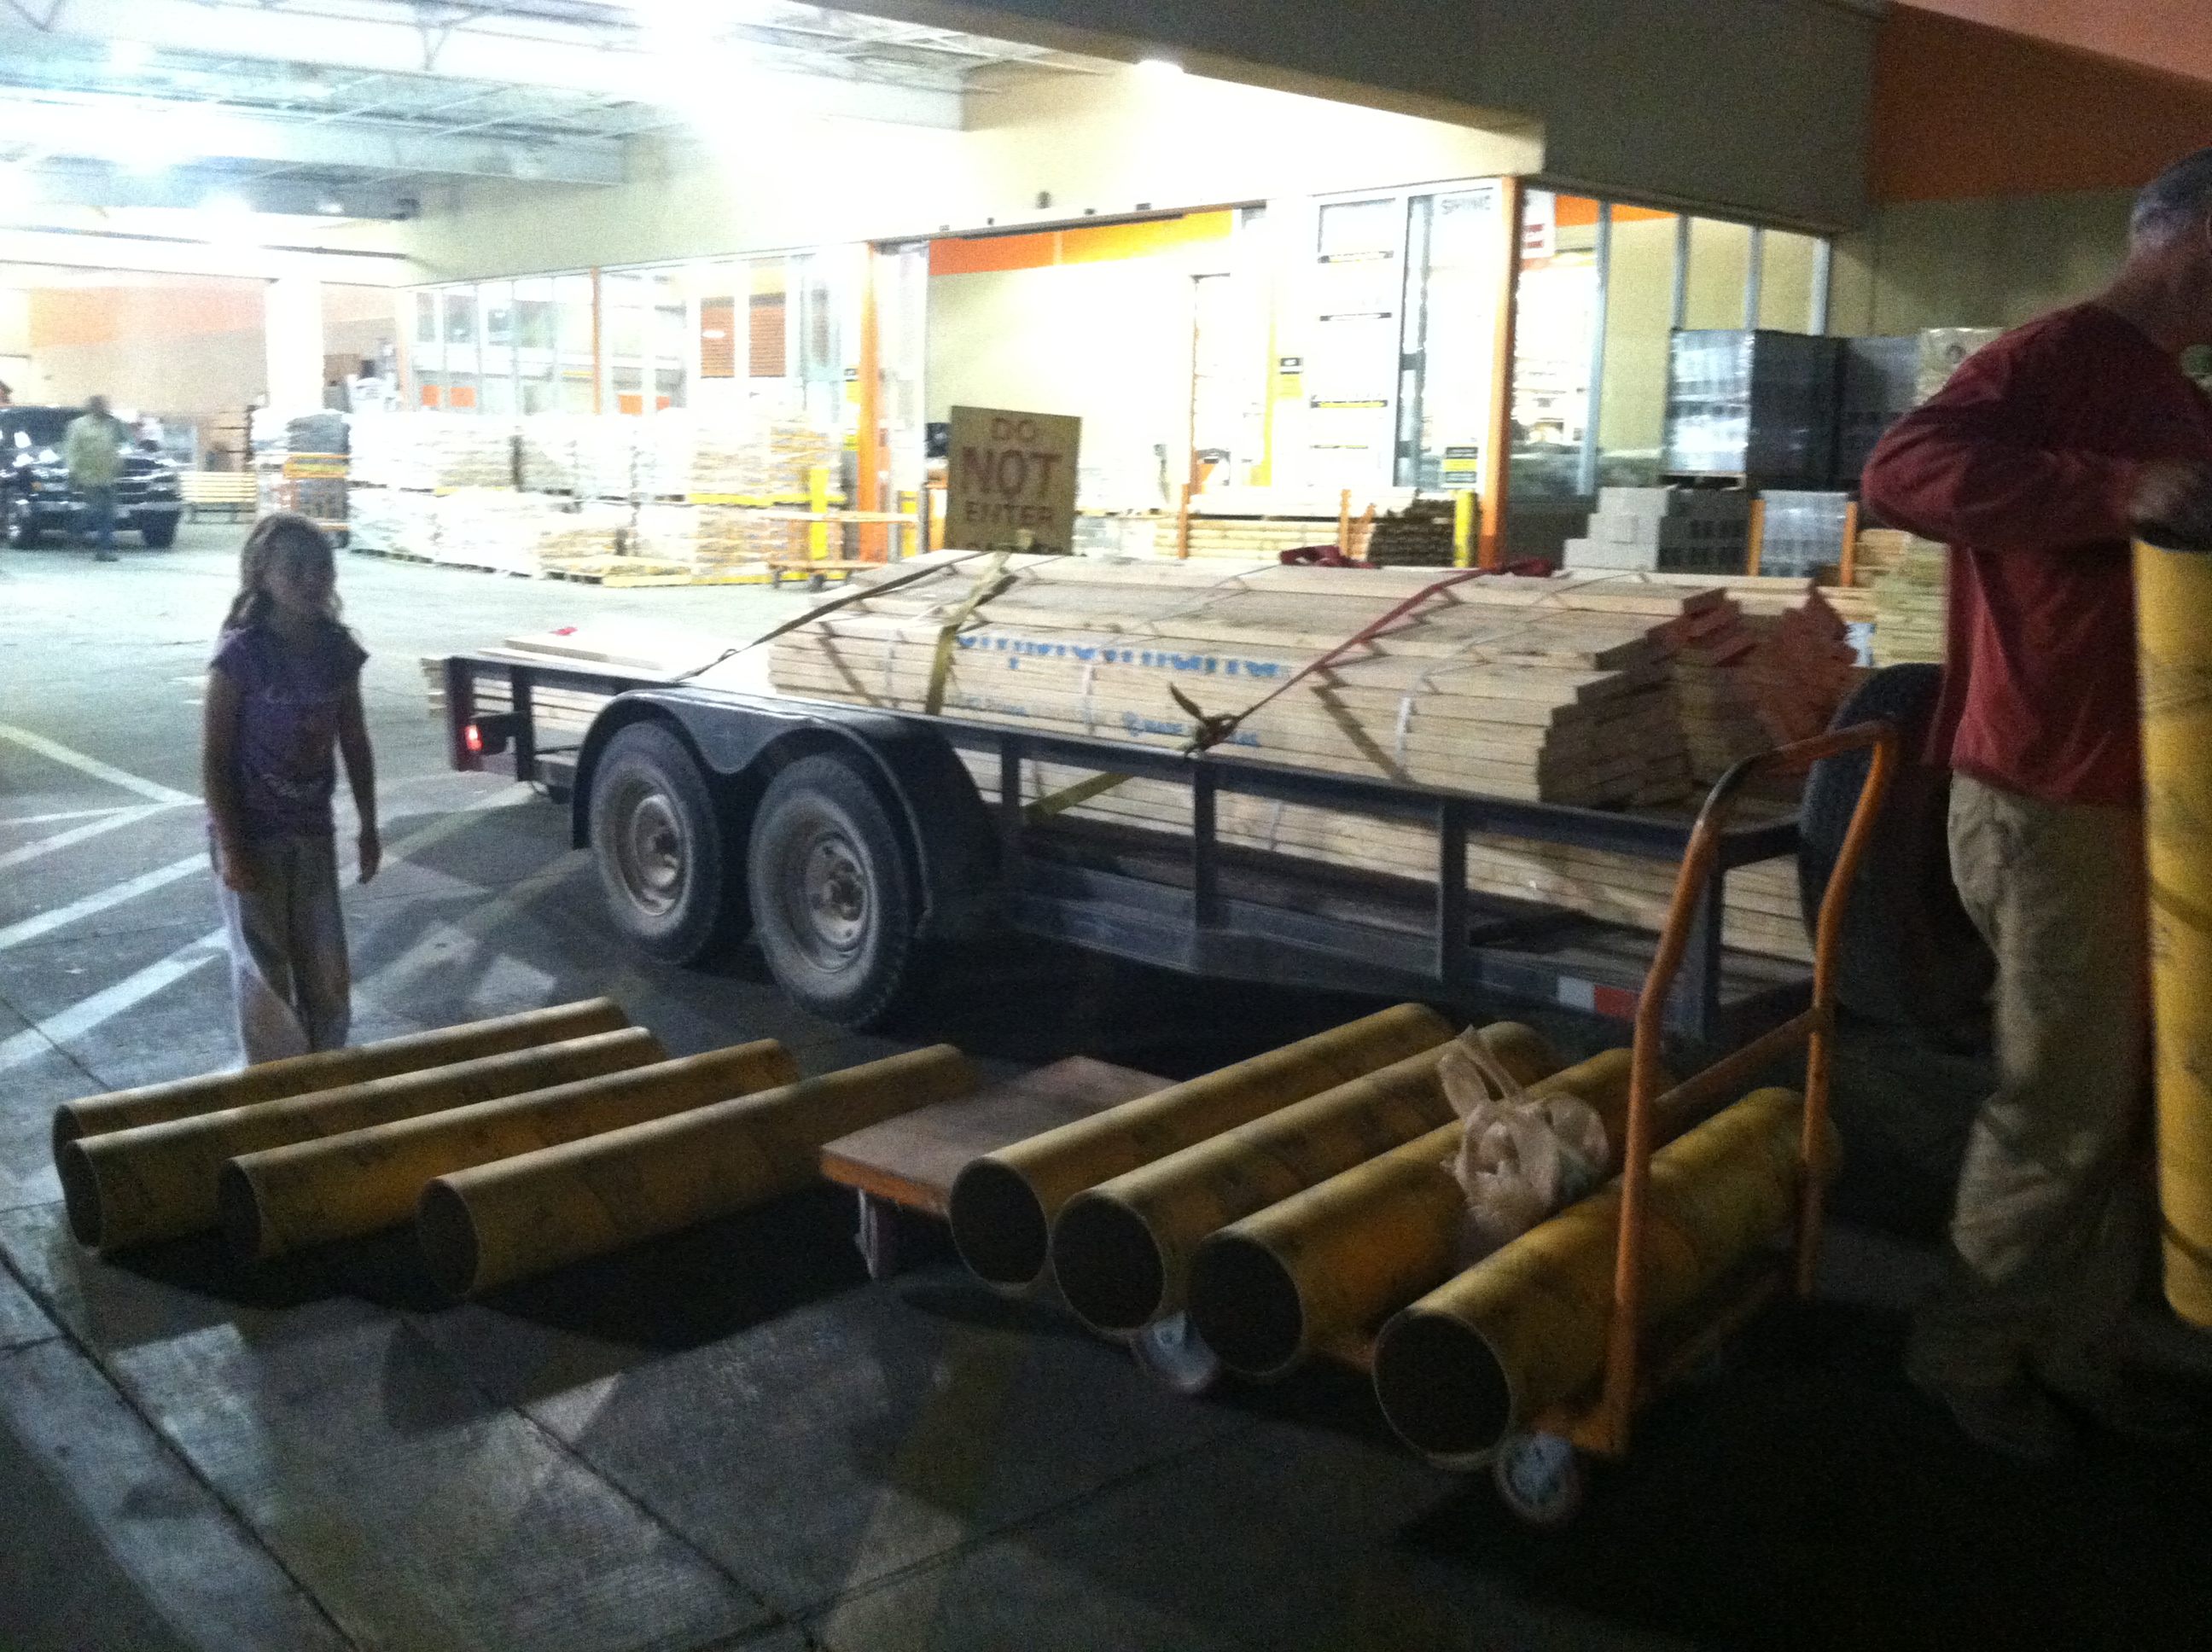


Reiley is in the very back, under all those yellow tubes.
Just kidding.
Just after packing in like Sardines again, into the Whataburger drive-thru we went! (Not kidding). We were hungry!
Now it was time for laying floor.
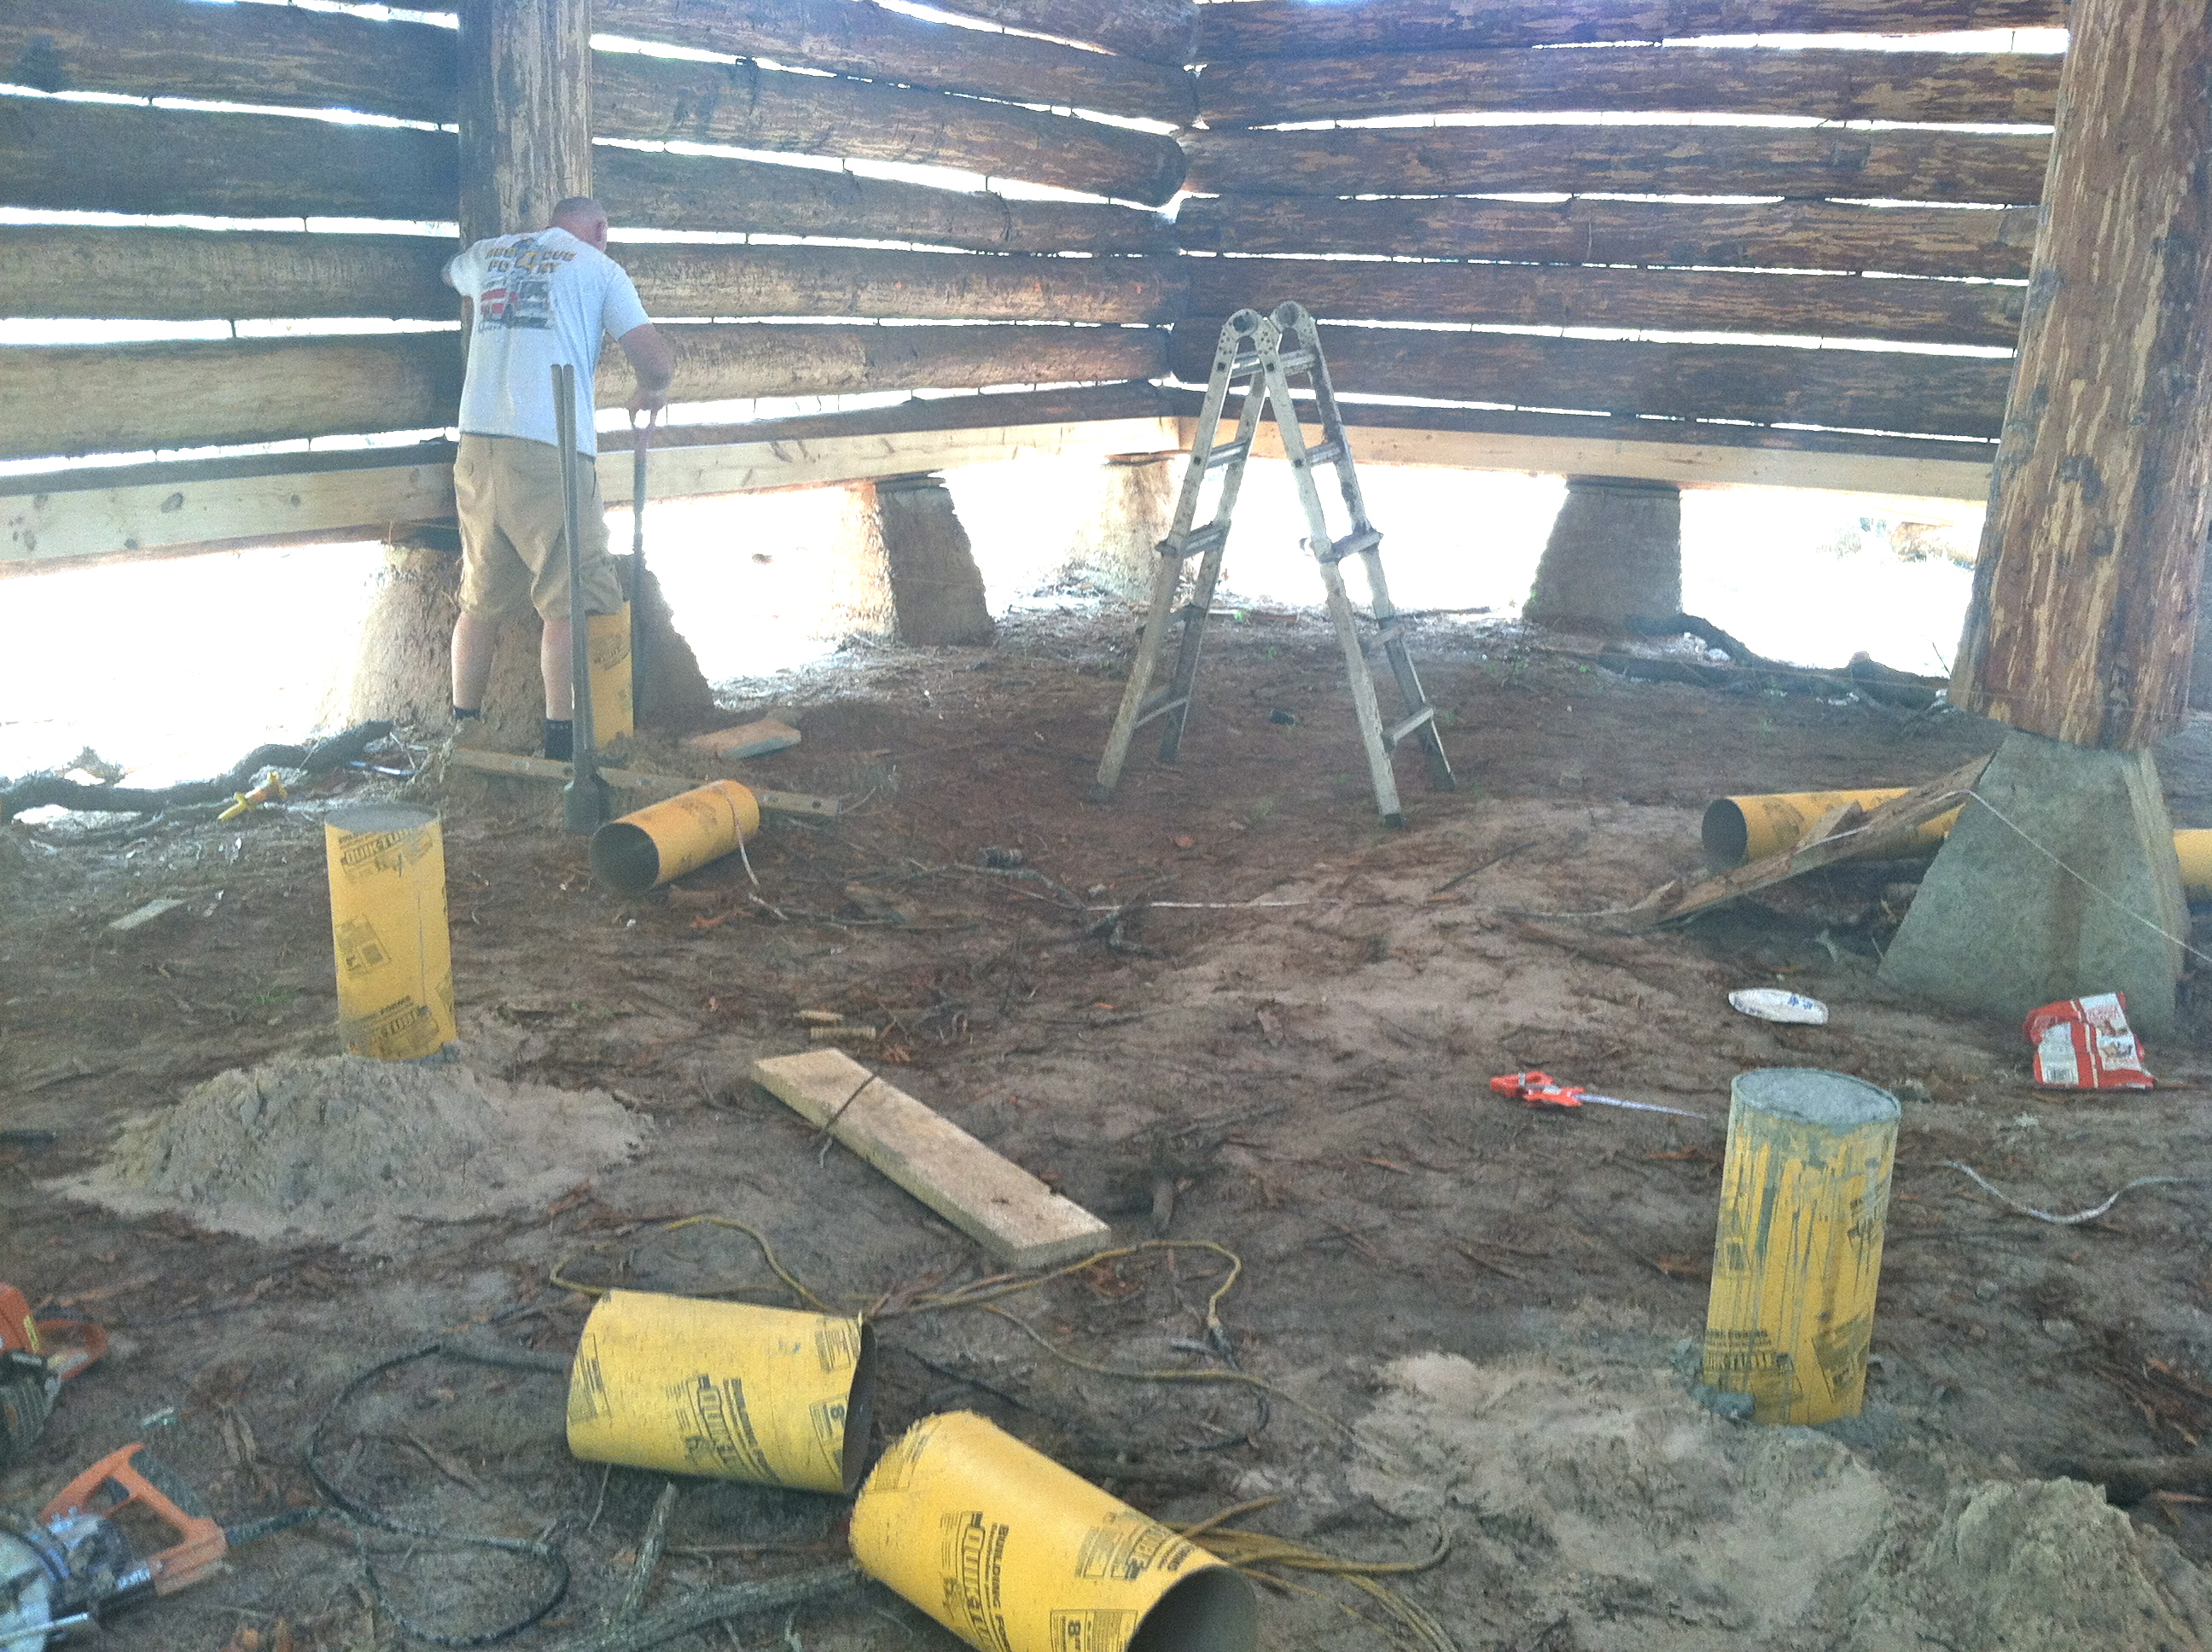
First, we had to nail boards onto the bottom logs going all the way around.

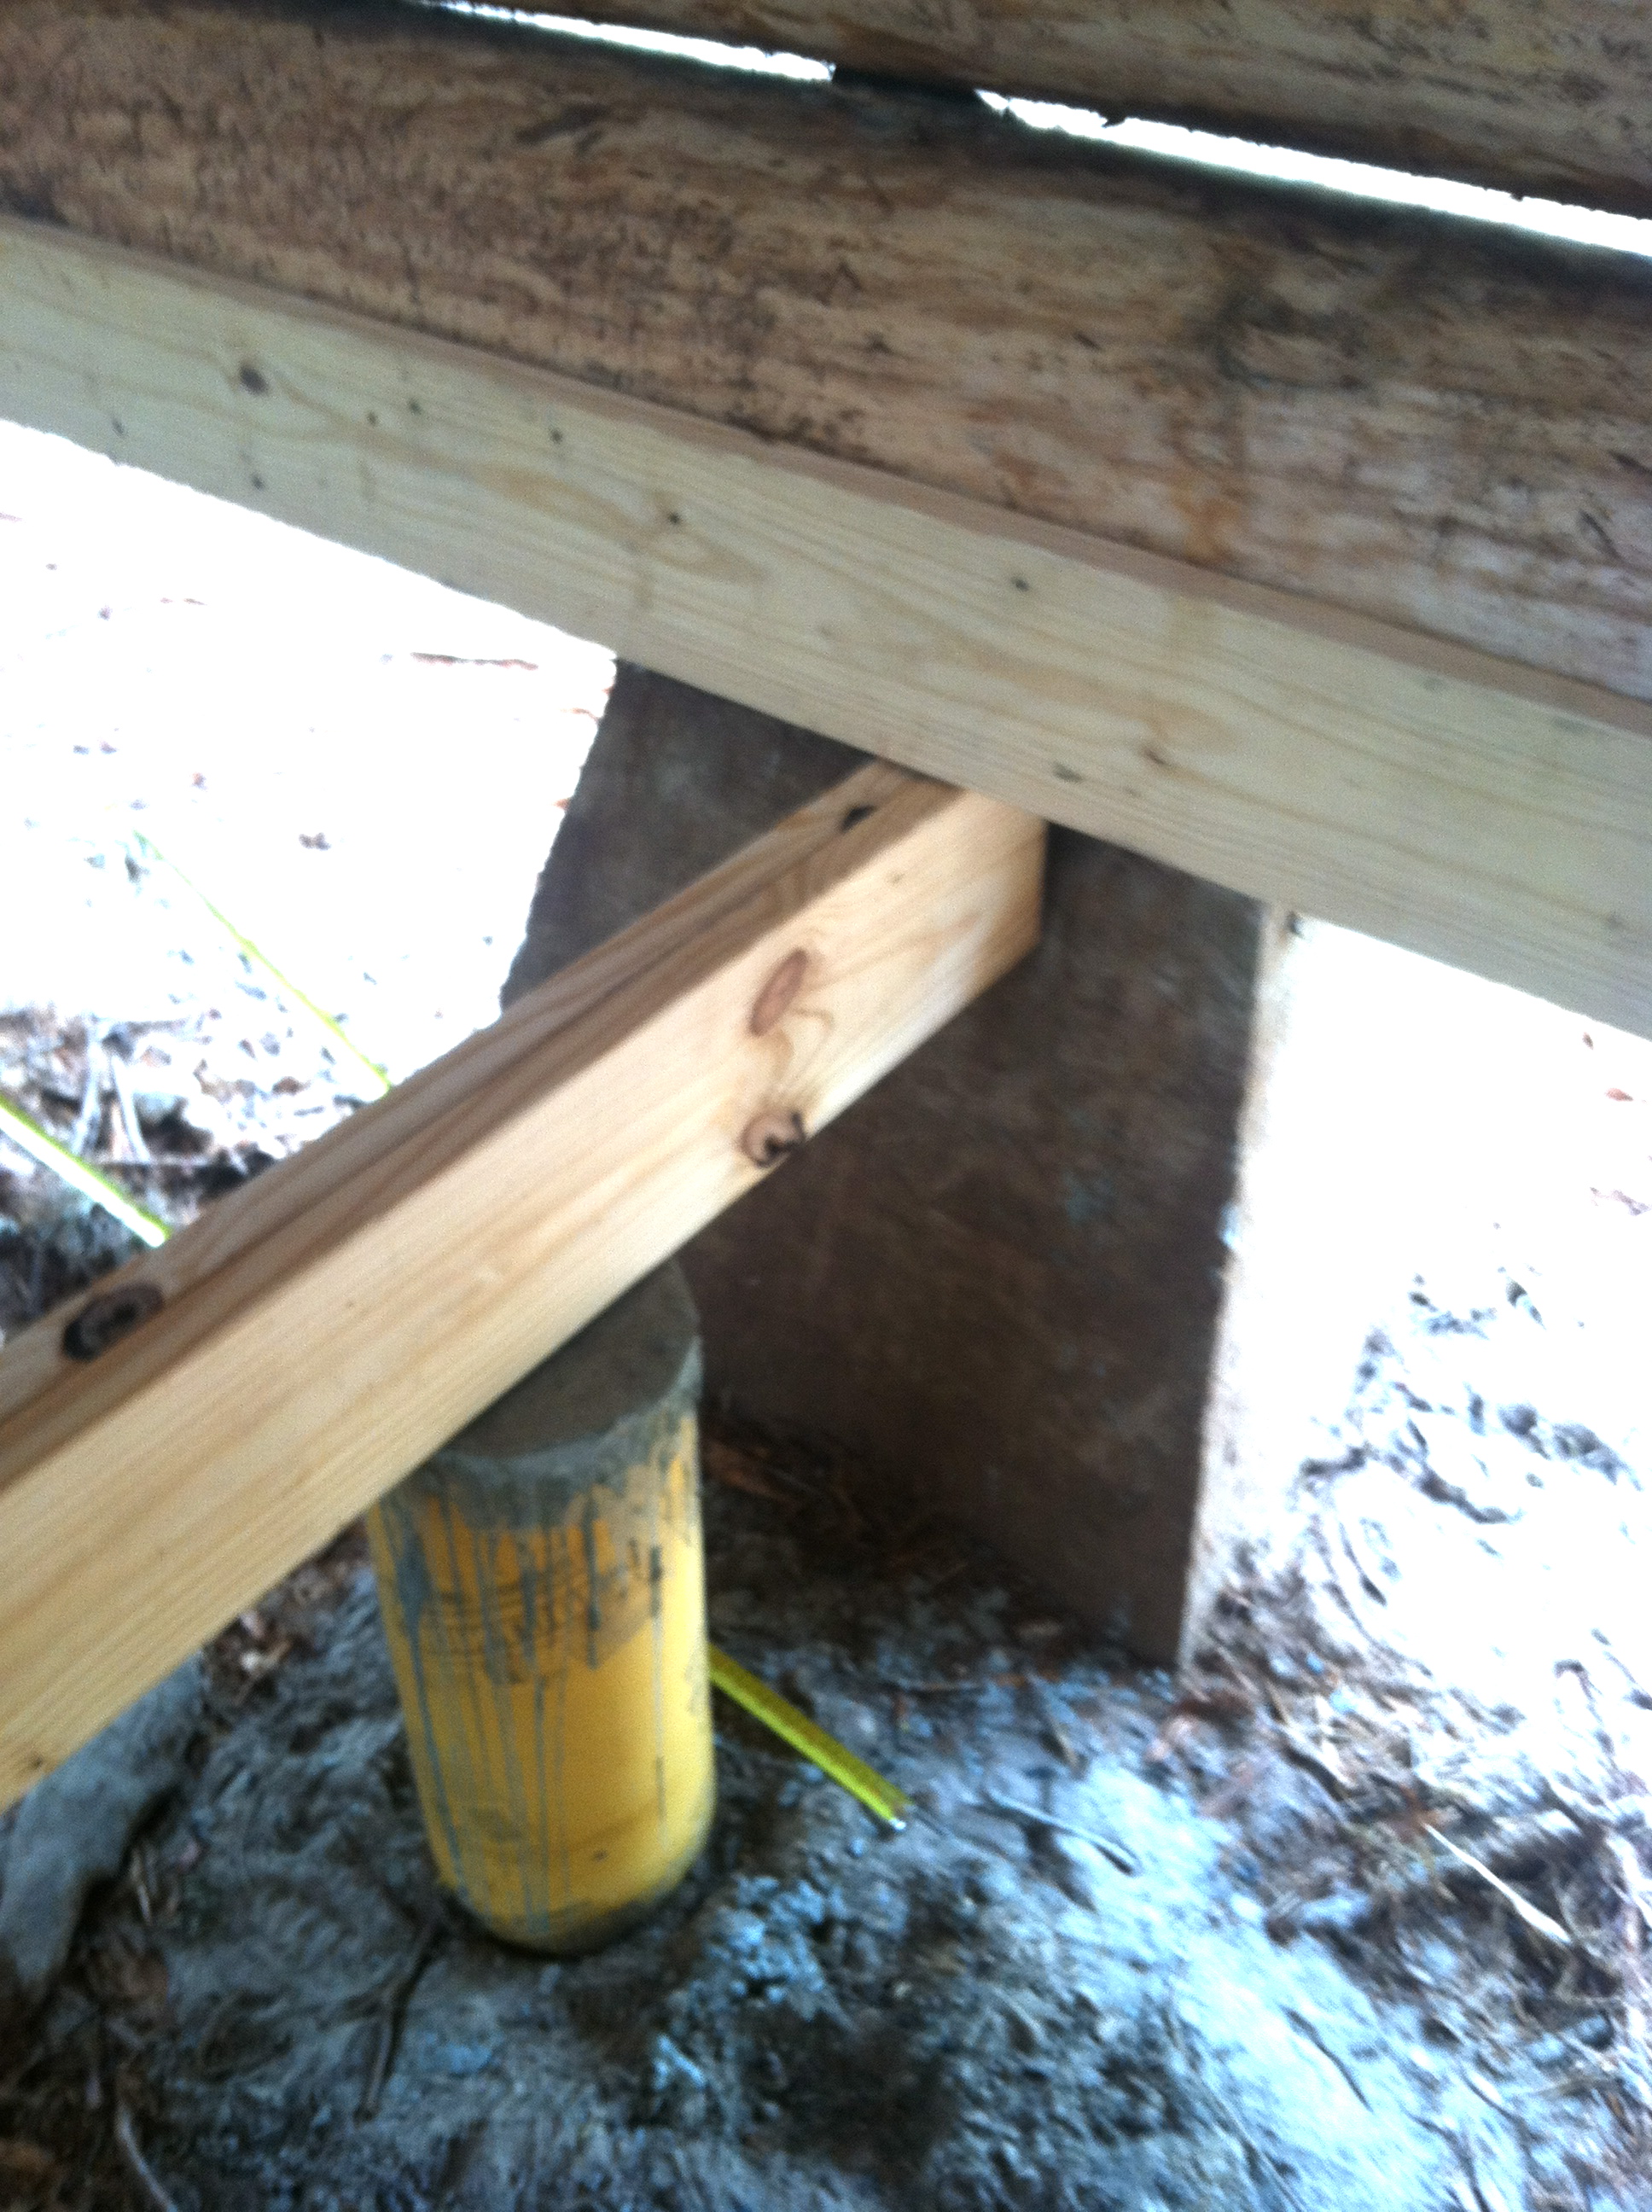
Then it was time to start digging holes for the yellow tubes. The yellow tubes will be filled with concrete, and will hold up the floor joist boards that the floor boards sit on top of.
These boards Steve is nailing to the logs are used to attach the joists to. If you don’t build…you’ll see. In this pic, Steve is digging out the sand, in order to insert the yellow tube…

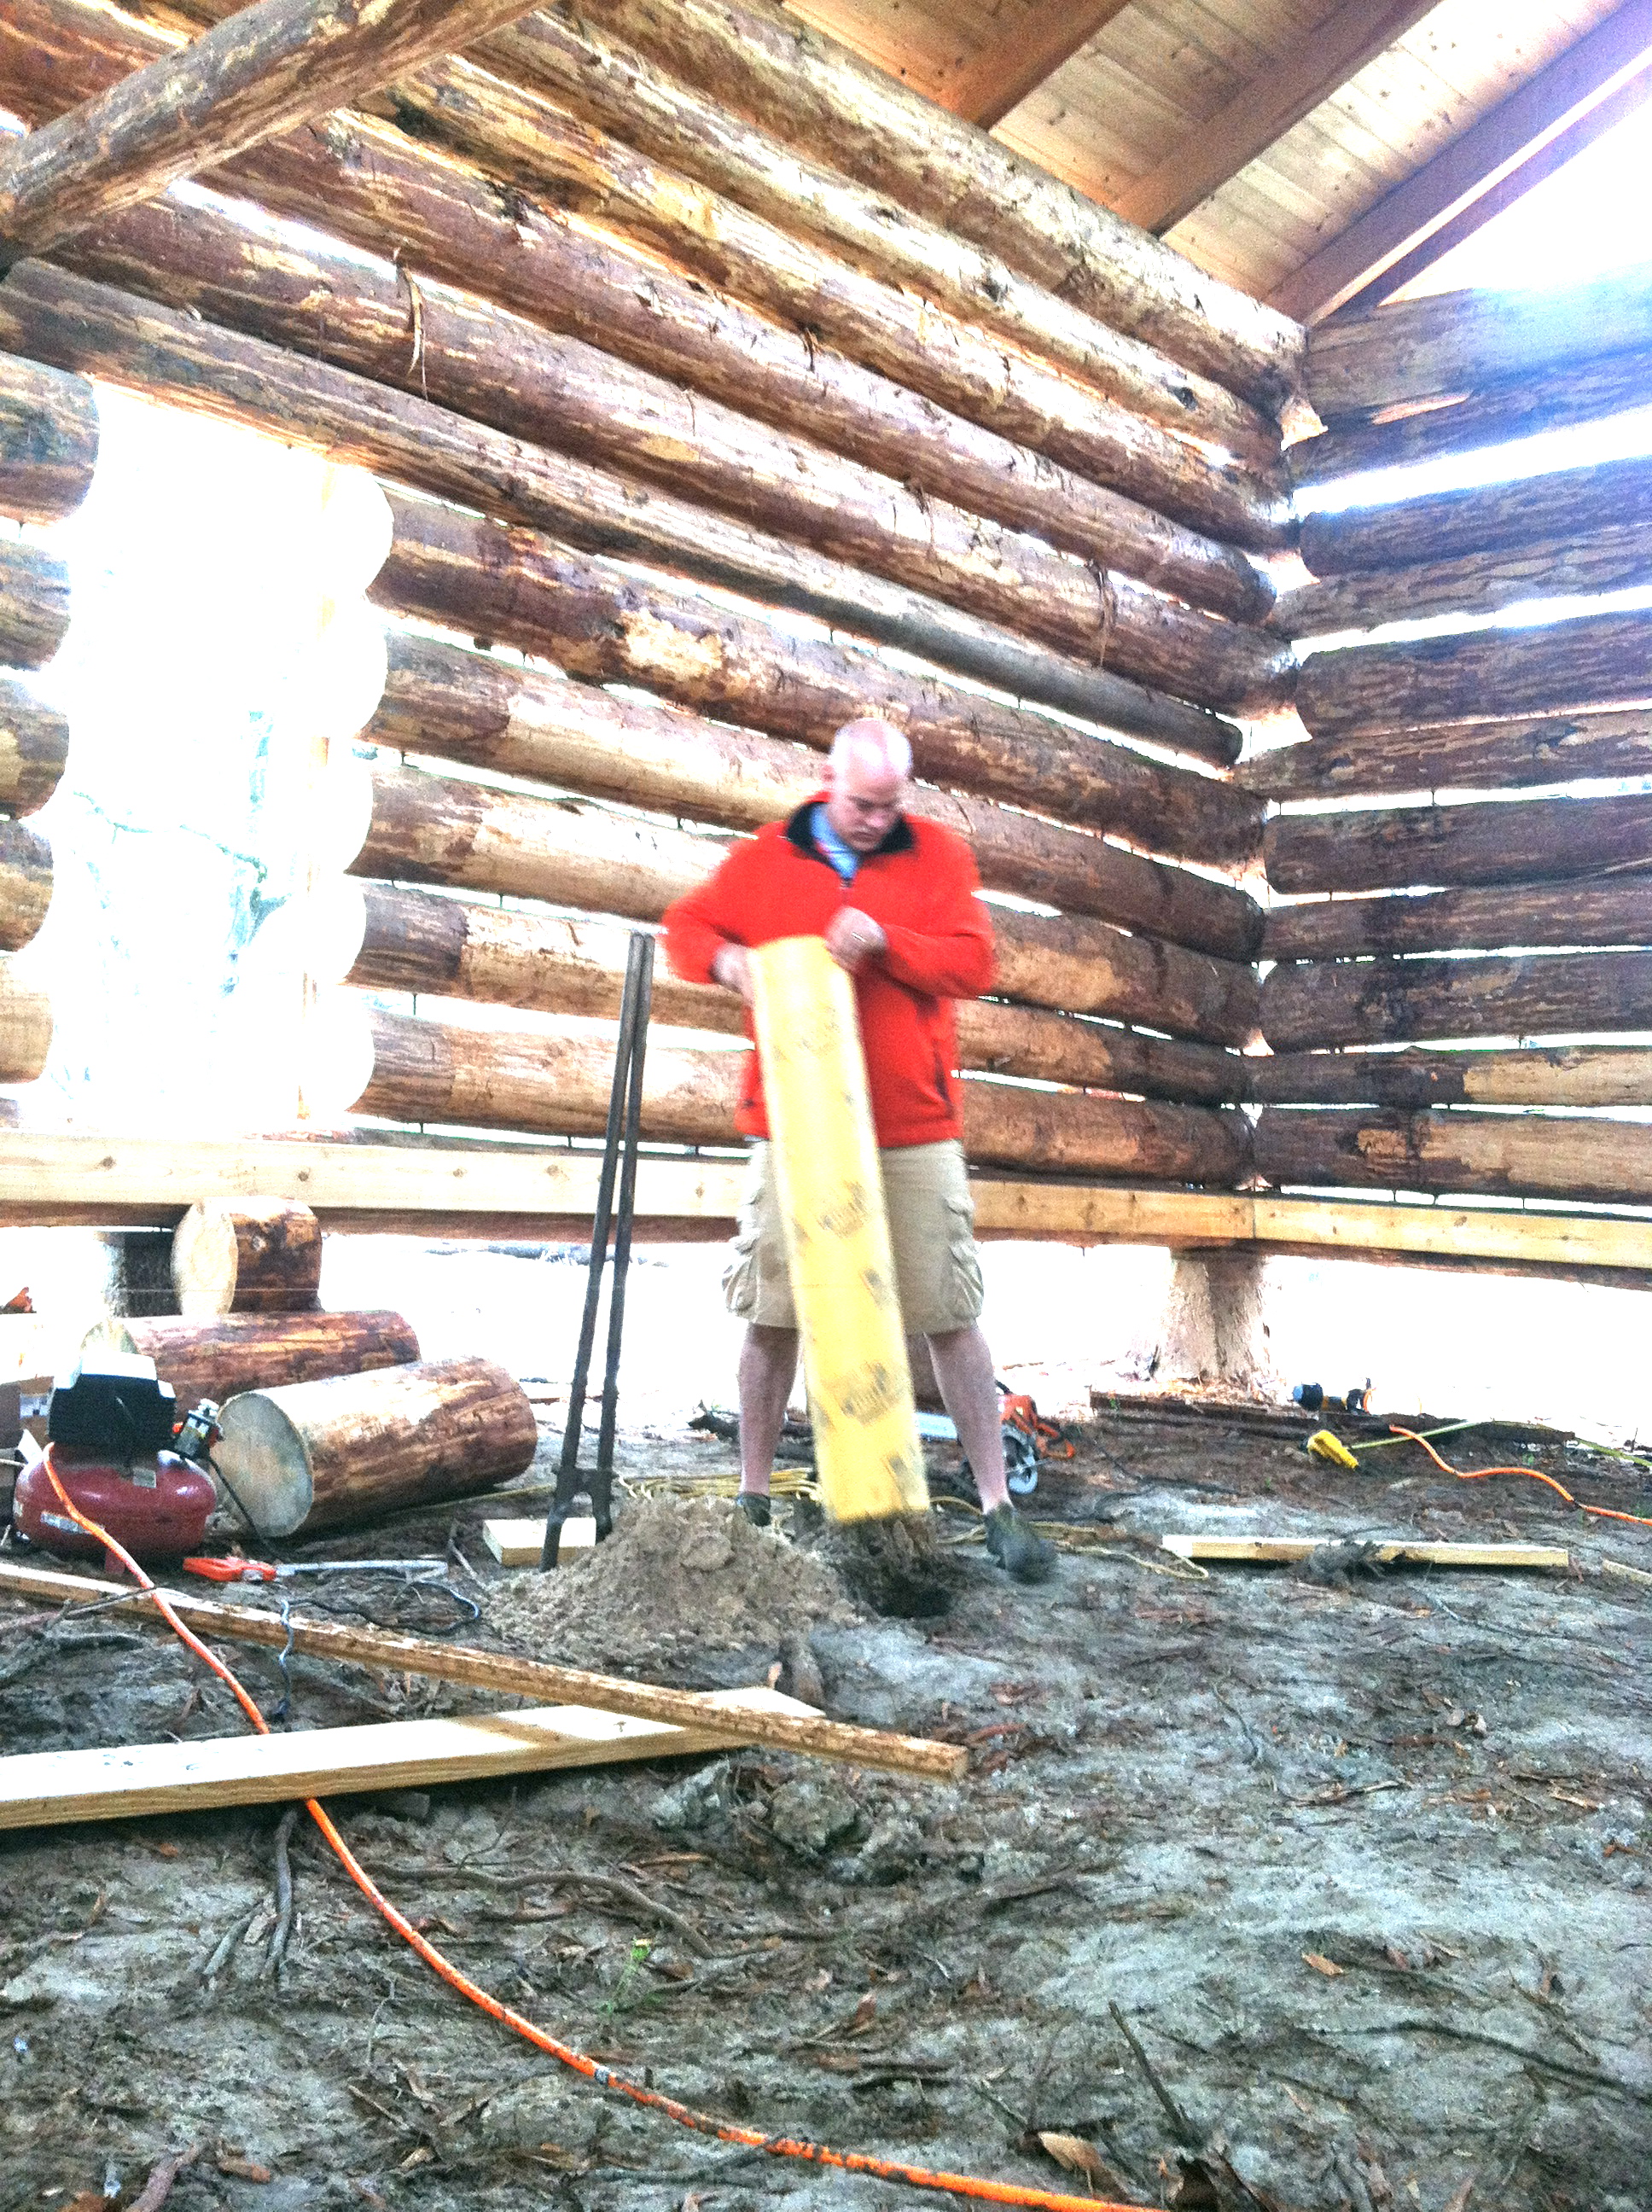

Can you see the orange string suspended over the top of the yellow tube in the pic above? Steve tied string from one wall and stretched it across to the other side of the house. He used his level to make sure the string was level and not slanting up or down from one end to the other.
He then cut a board that was the same width as the joists he was going to use. He placed the cut board on top of the yellow tube…hoping the top of the board would just touch the string. The string is the same height as the floor. If the string sat just on top of the cut board, then he knew that the tubes were down far enough in the ground, and that the floor boards would sit upon the joists just right.
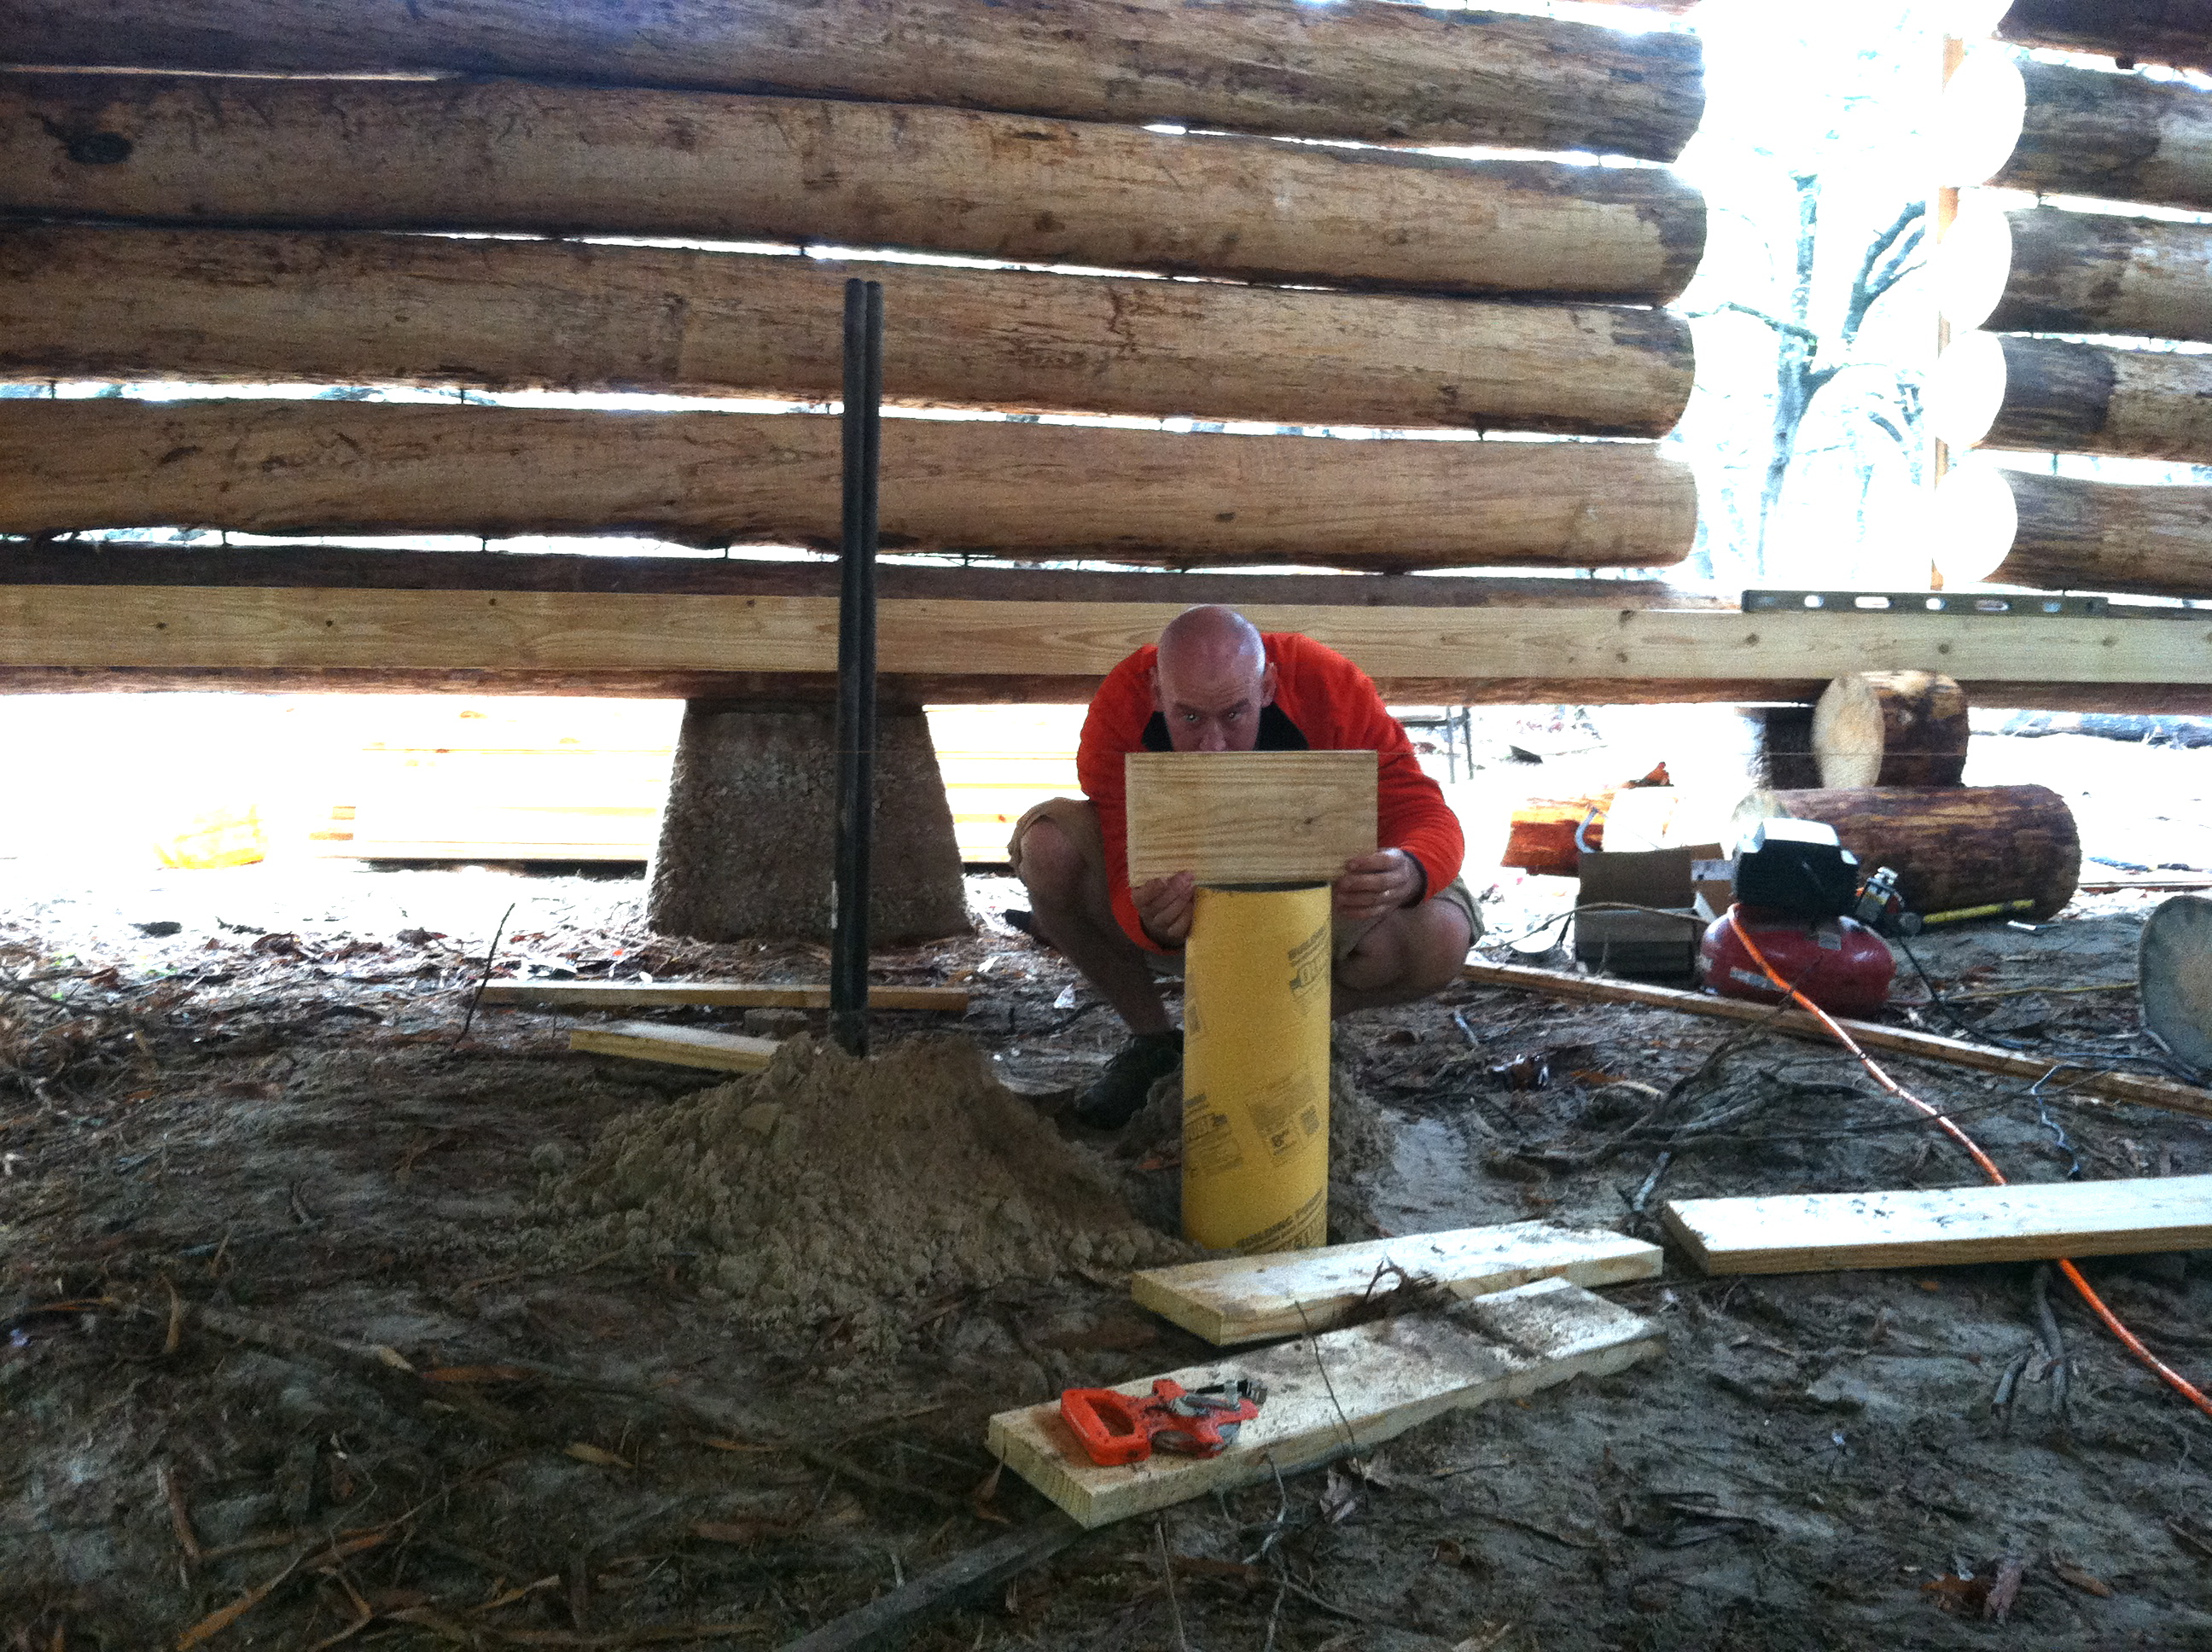
In the picture above, he’s looking at the string on top of the board, to be sure it’s just on top of it. He might need to dig down further for the tube to go further down….or come back up a bit. He did several rows of these yellow tubes and strings, to cover our whole floor. Then it was time to fill them with concrete. This is where I came in.
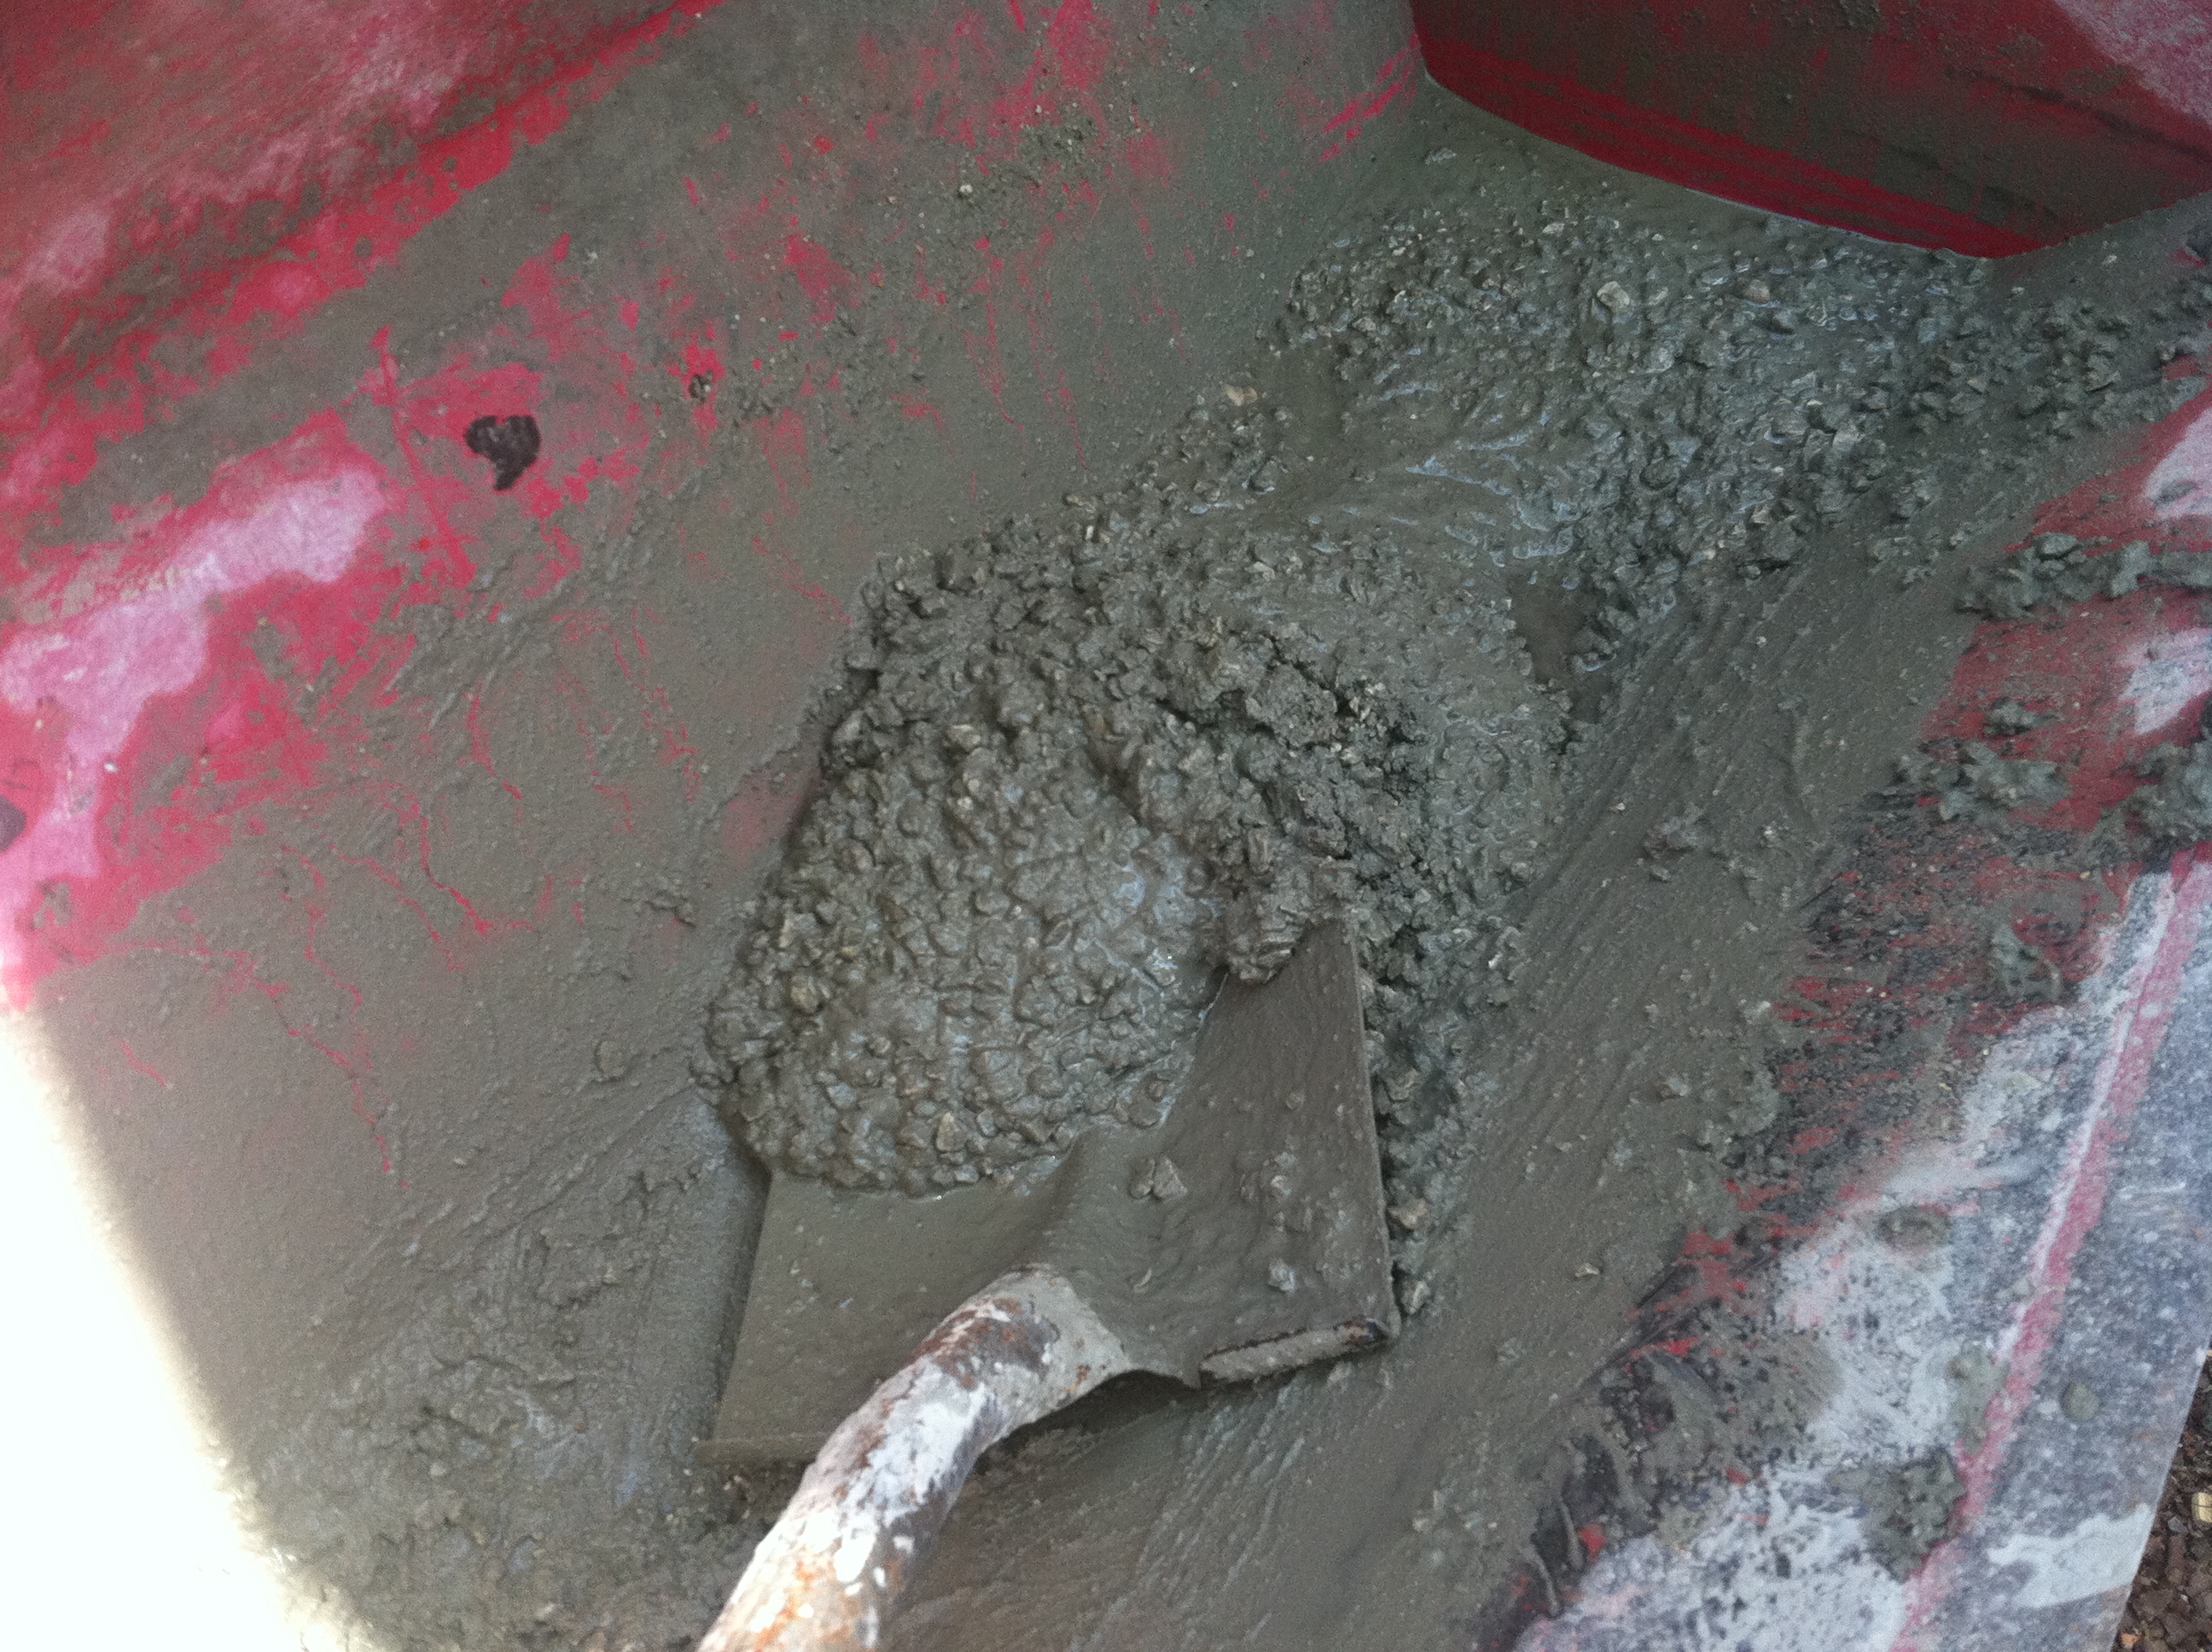
This is looking all too familiar. Shoveling concrete from tractor into a bucket…over and over and over again…and passing the HEAVY bucket under the wall to Steve.

Then he filled the yellow tubes. Next it was time to hang the “joists”. Those are the boards that attach to the walls of the house, and hold up the floor boards.
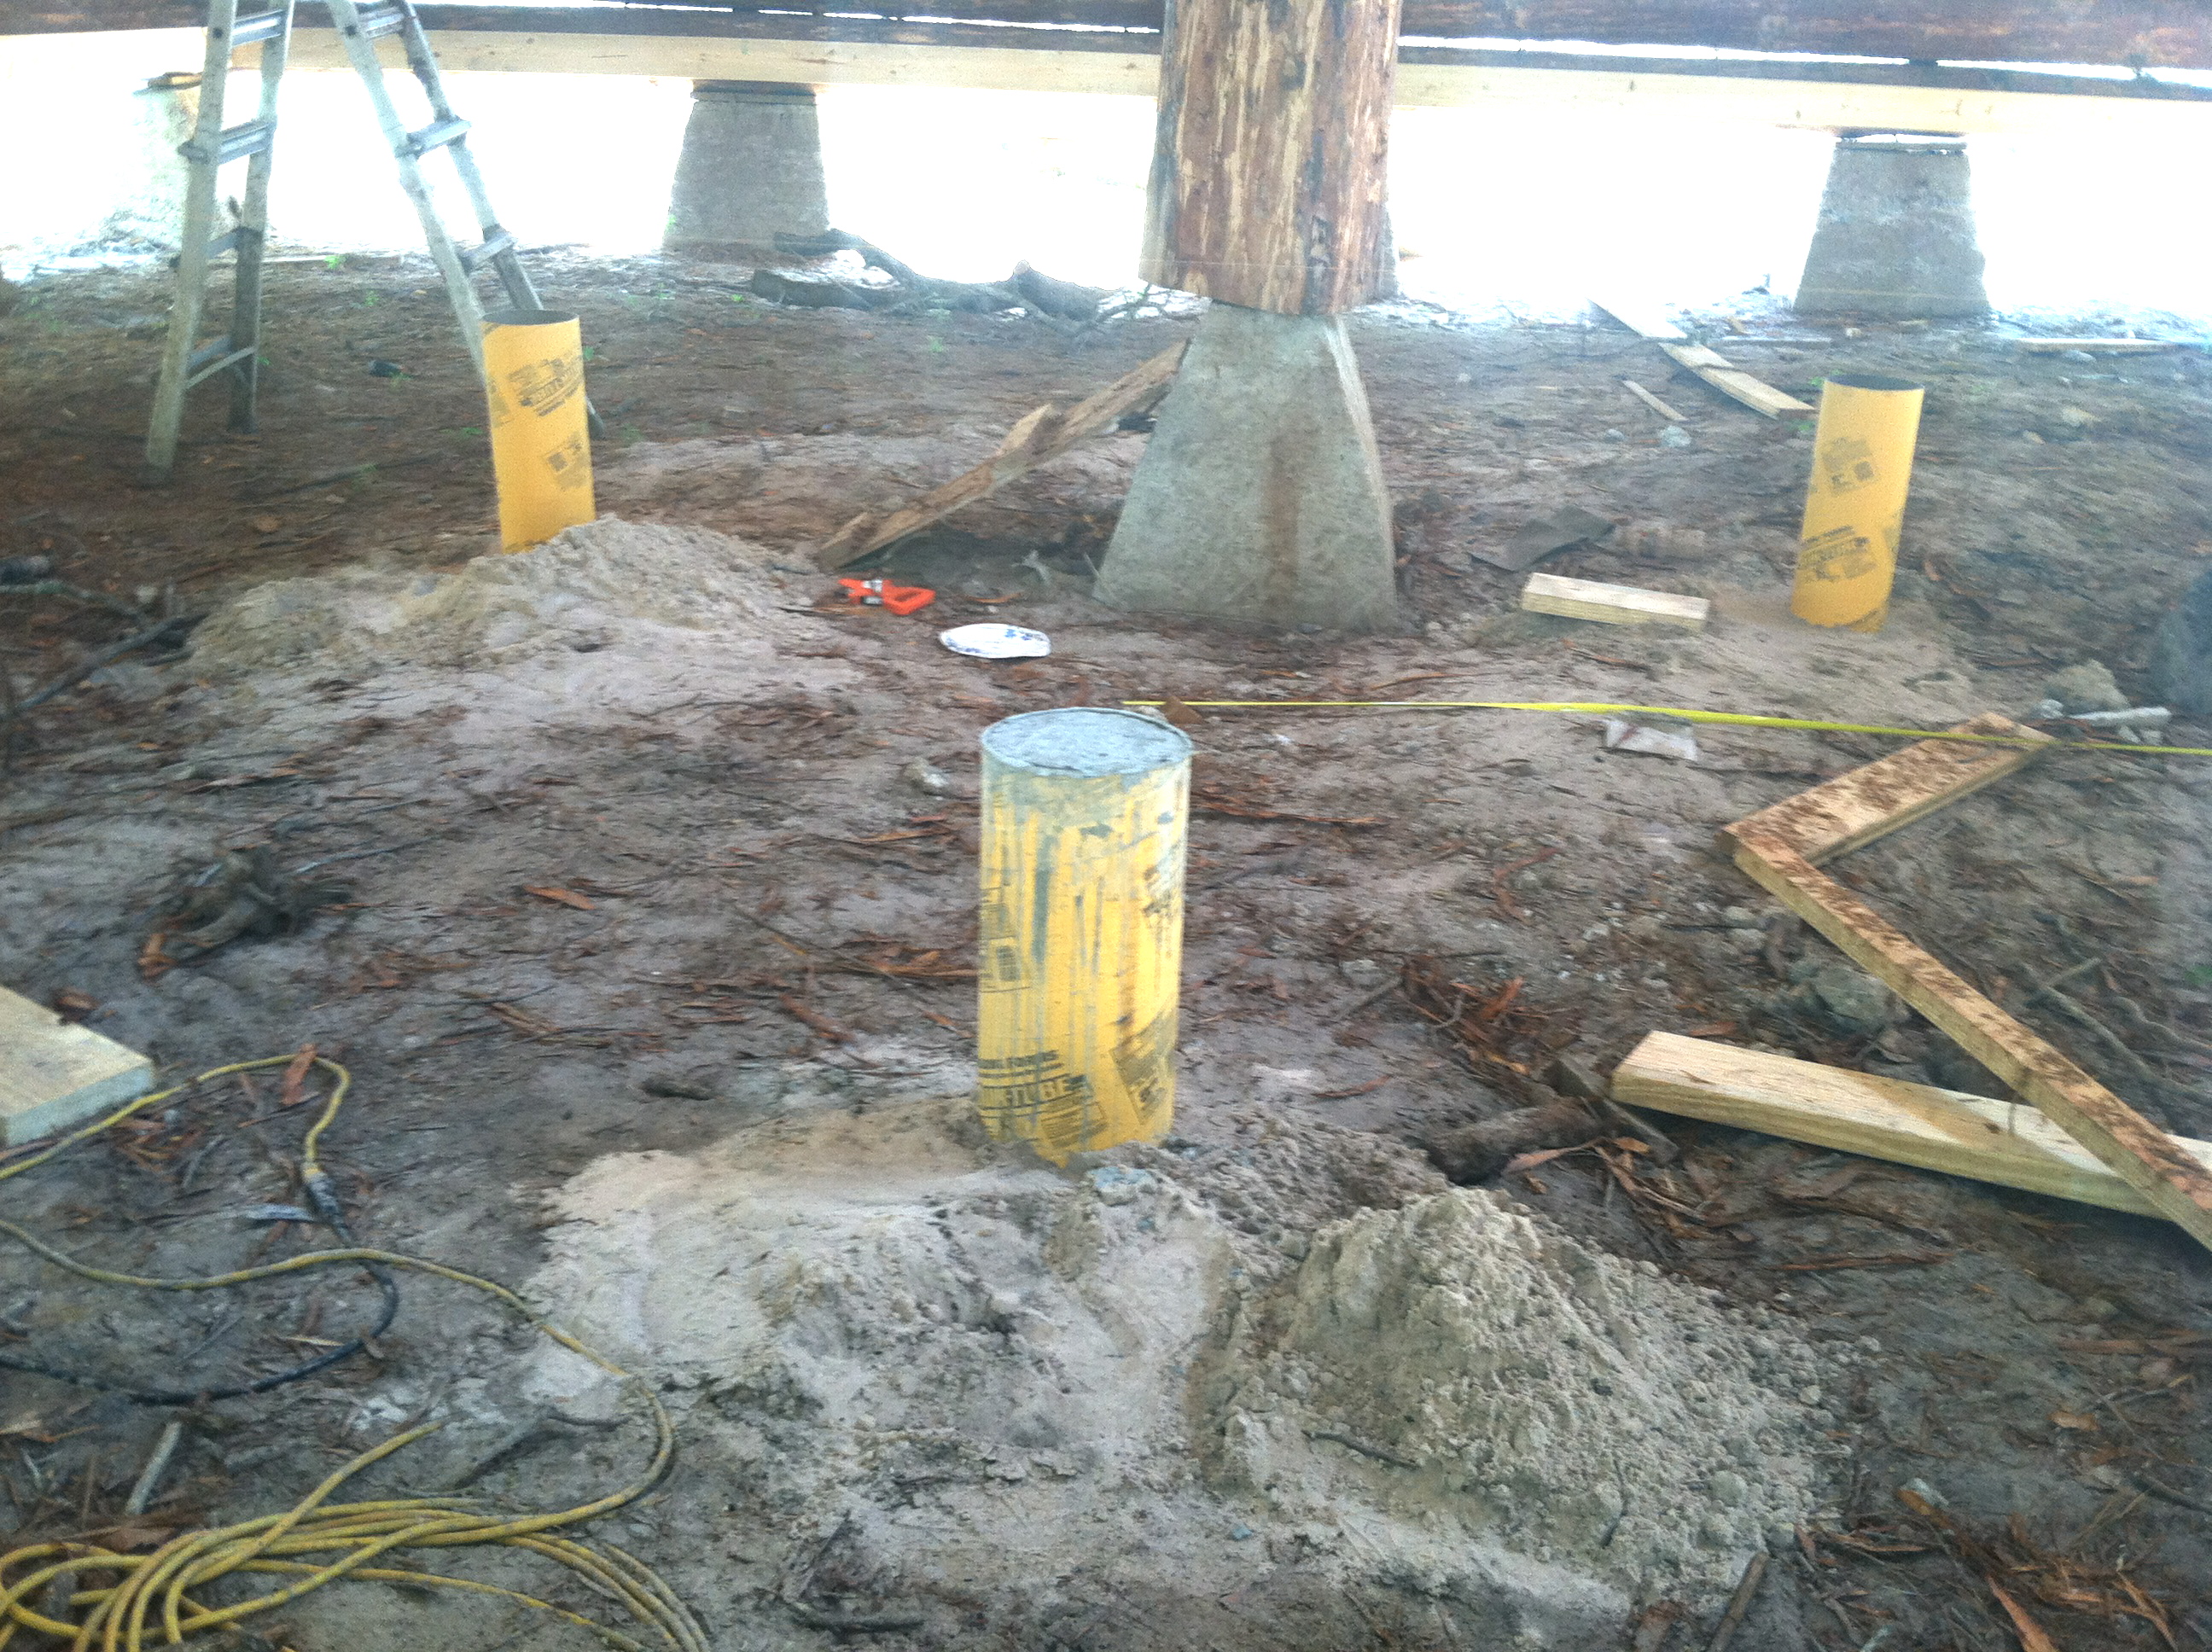

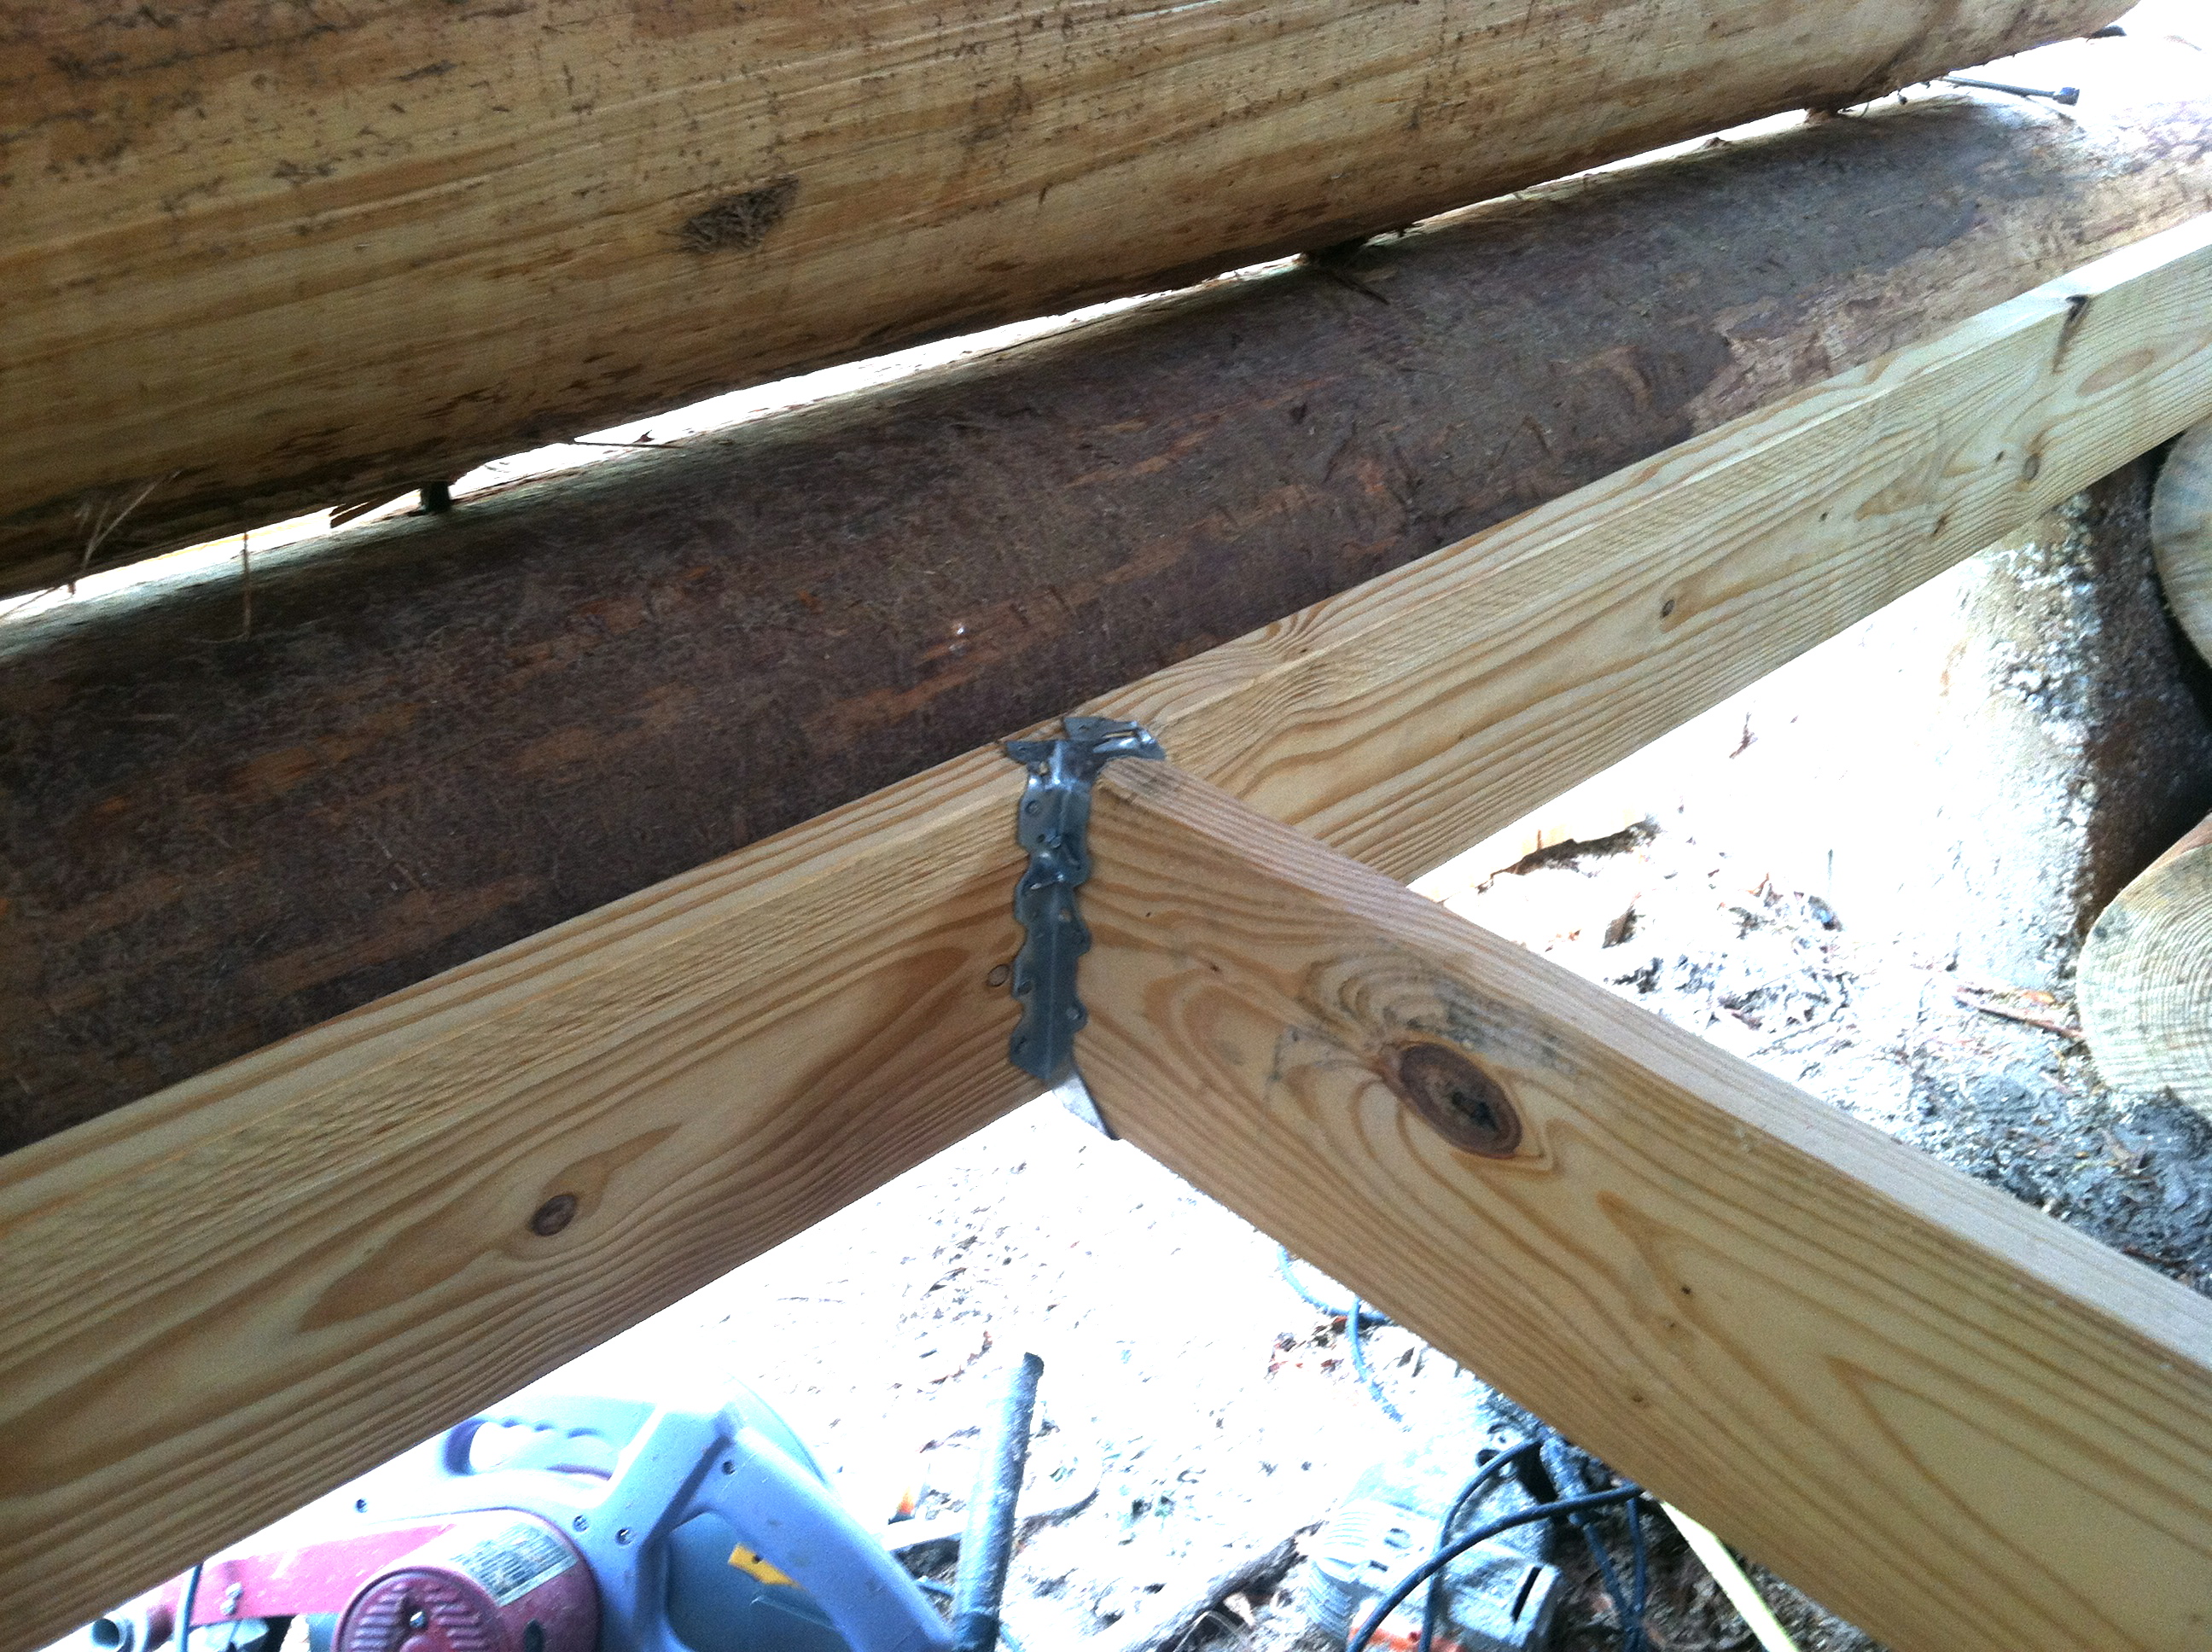

See in the picture above…the yellow tubes holding up a board…and that board holding up the joists.
Now the floor boards will be nailed on top of these joists.

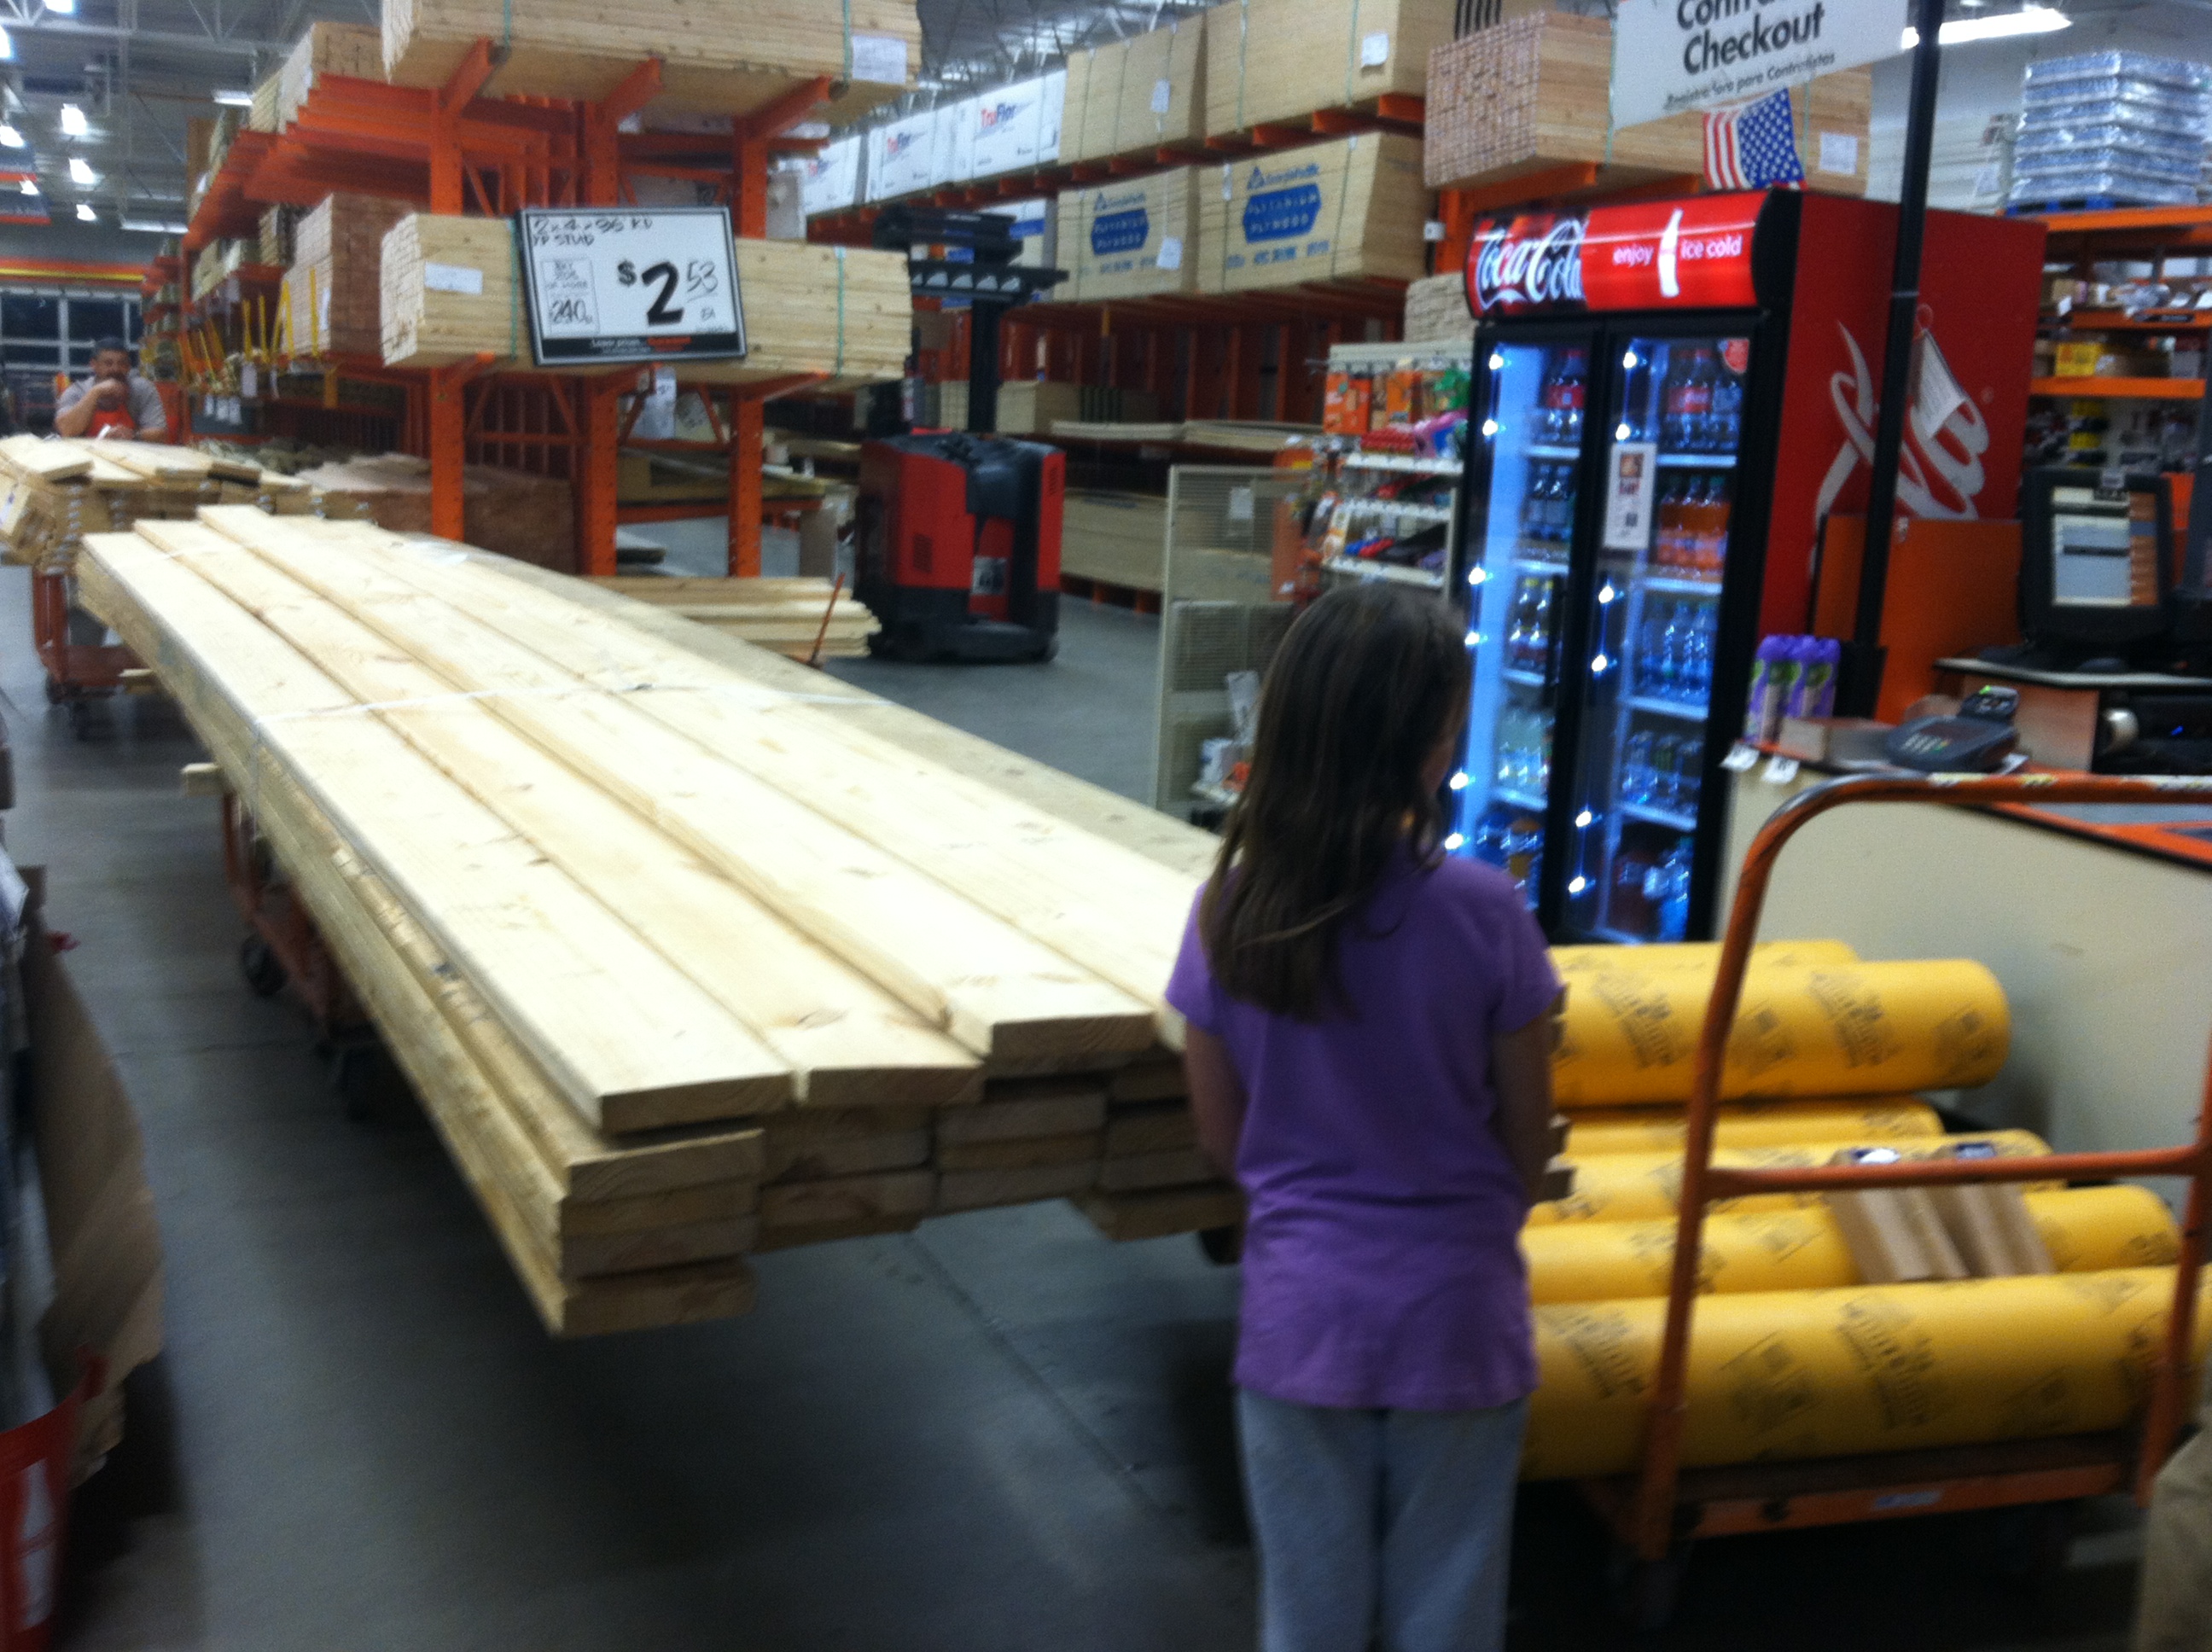
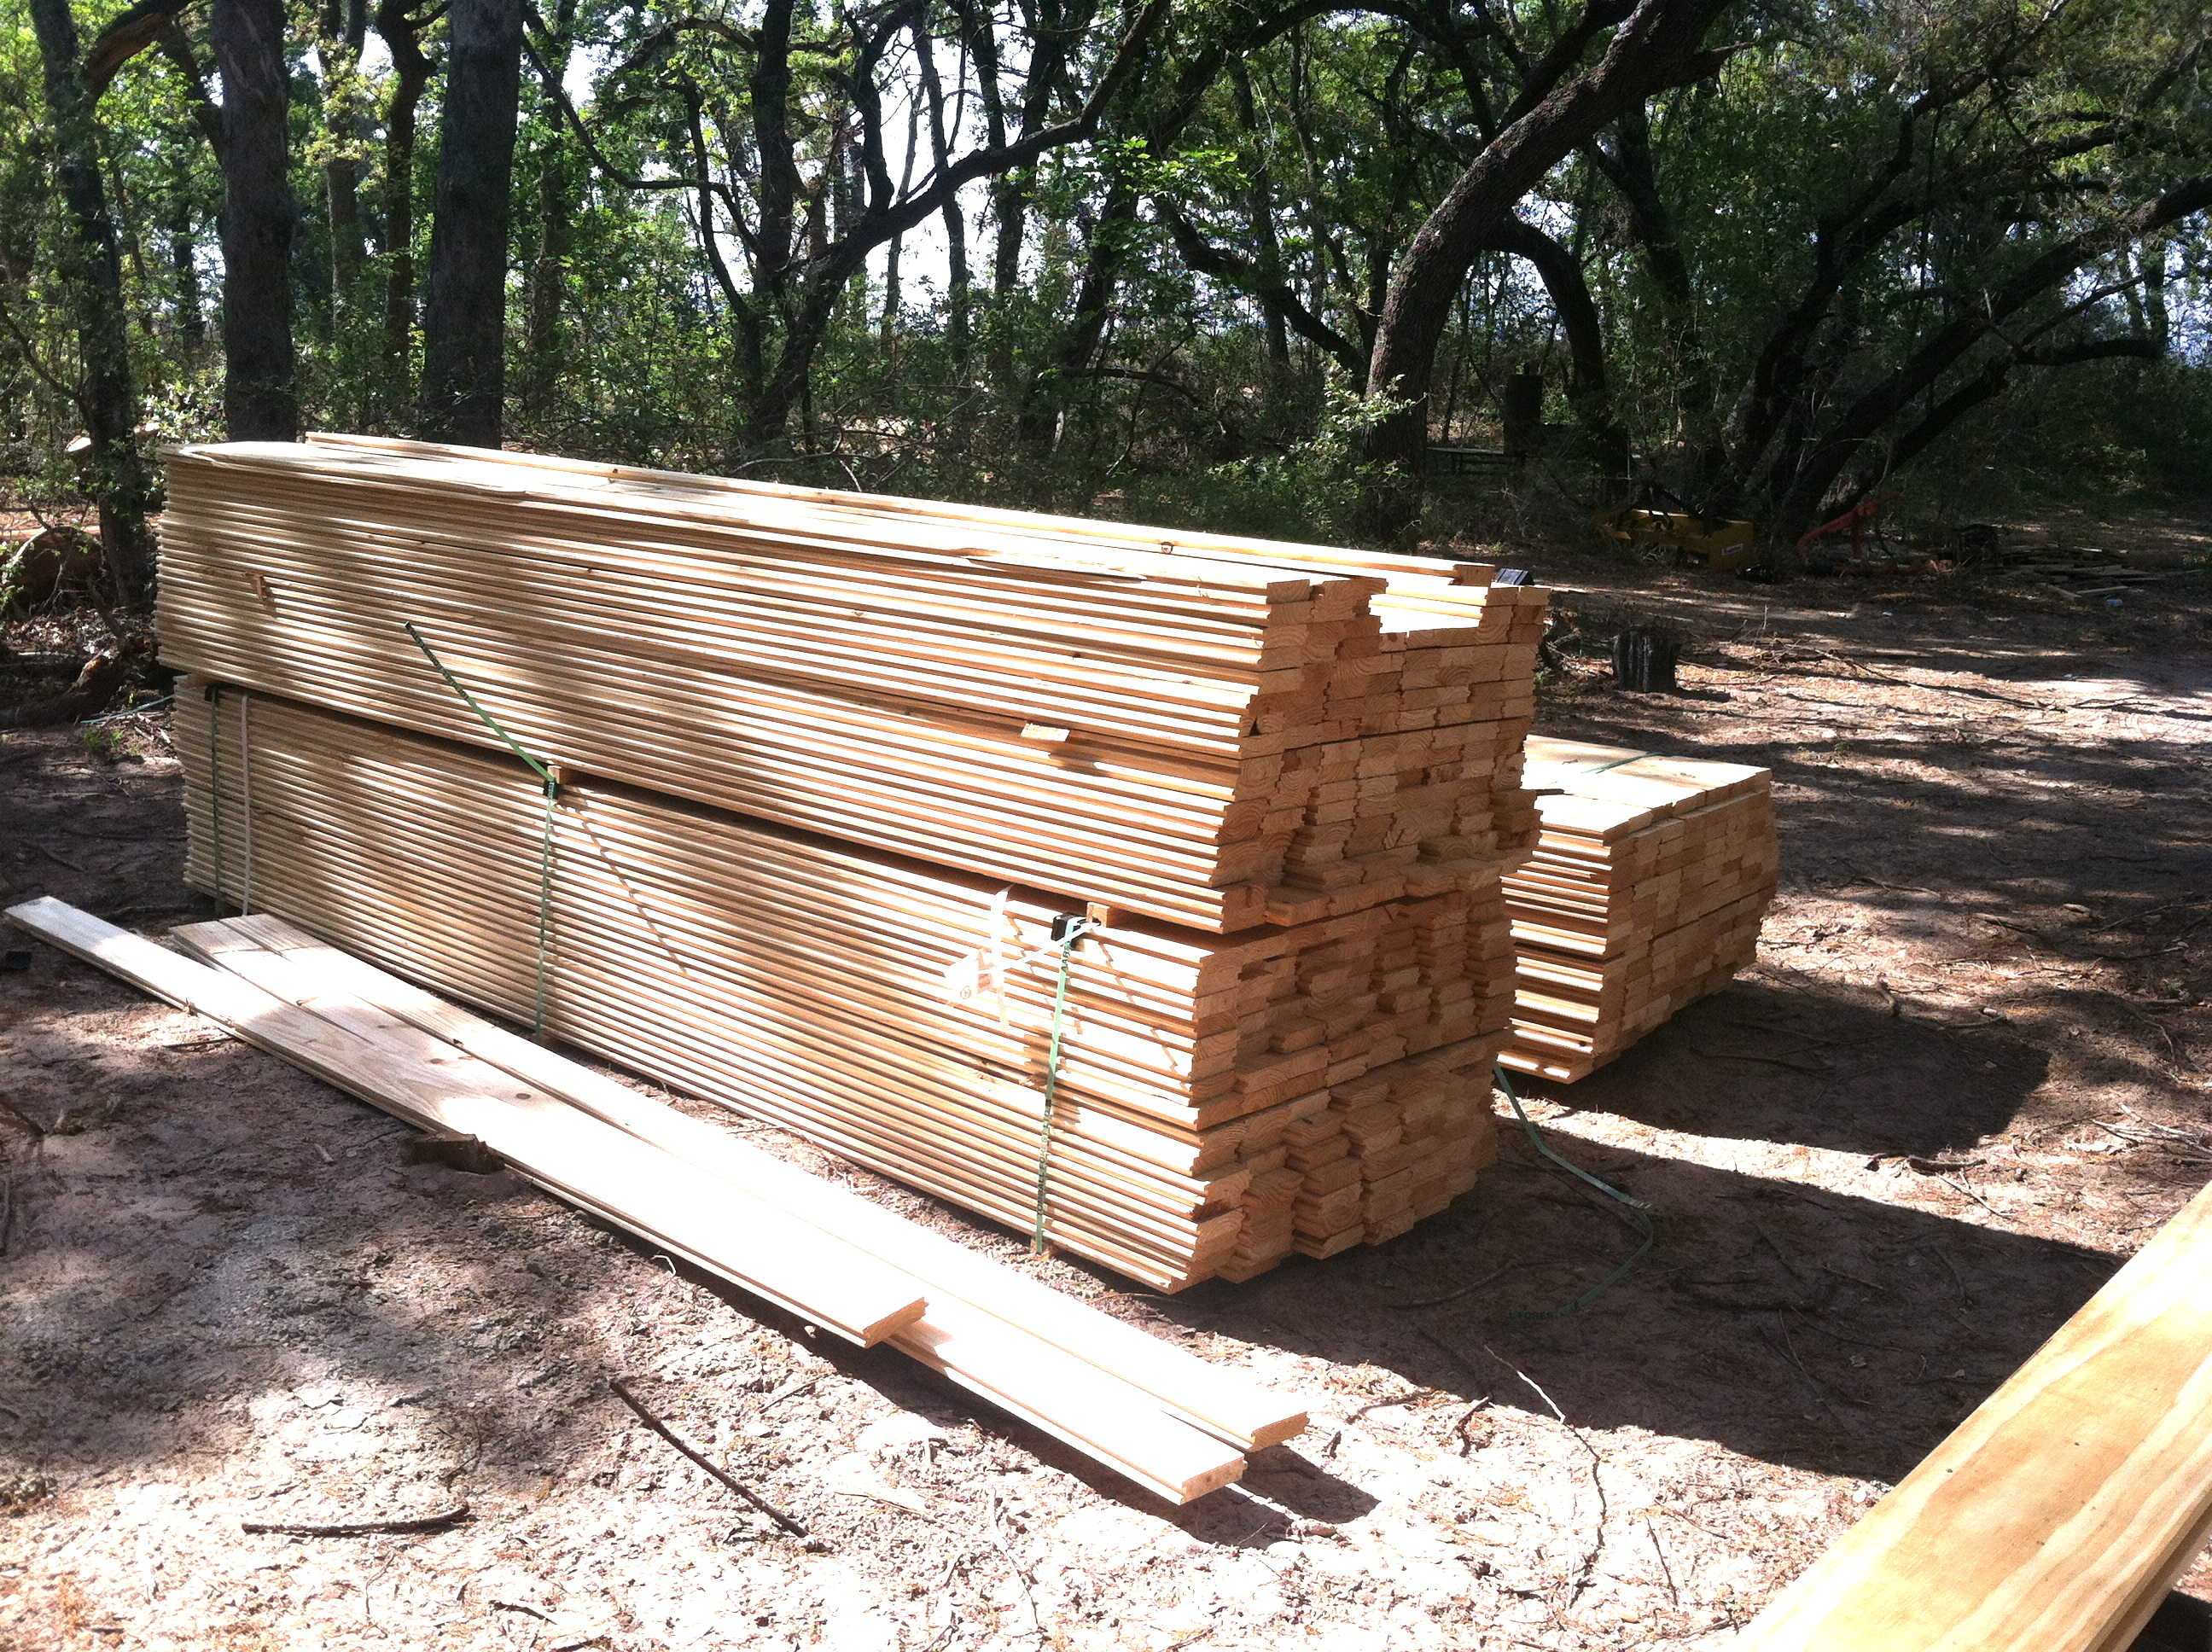
The floor board delivery truck came!


It was my job to collect measurements from him, and cut each board on my favorite saw, and then hand them to him. See the huge stacks of wood? I have to cut each one.


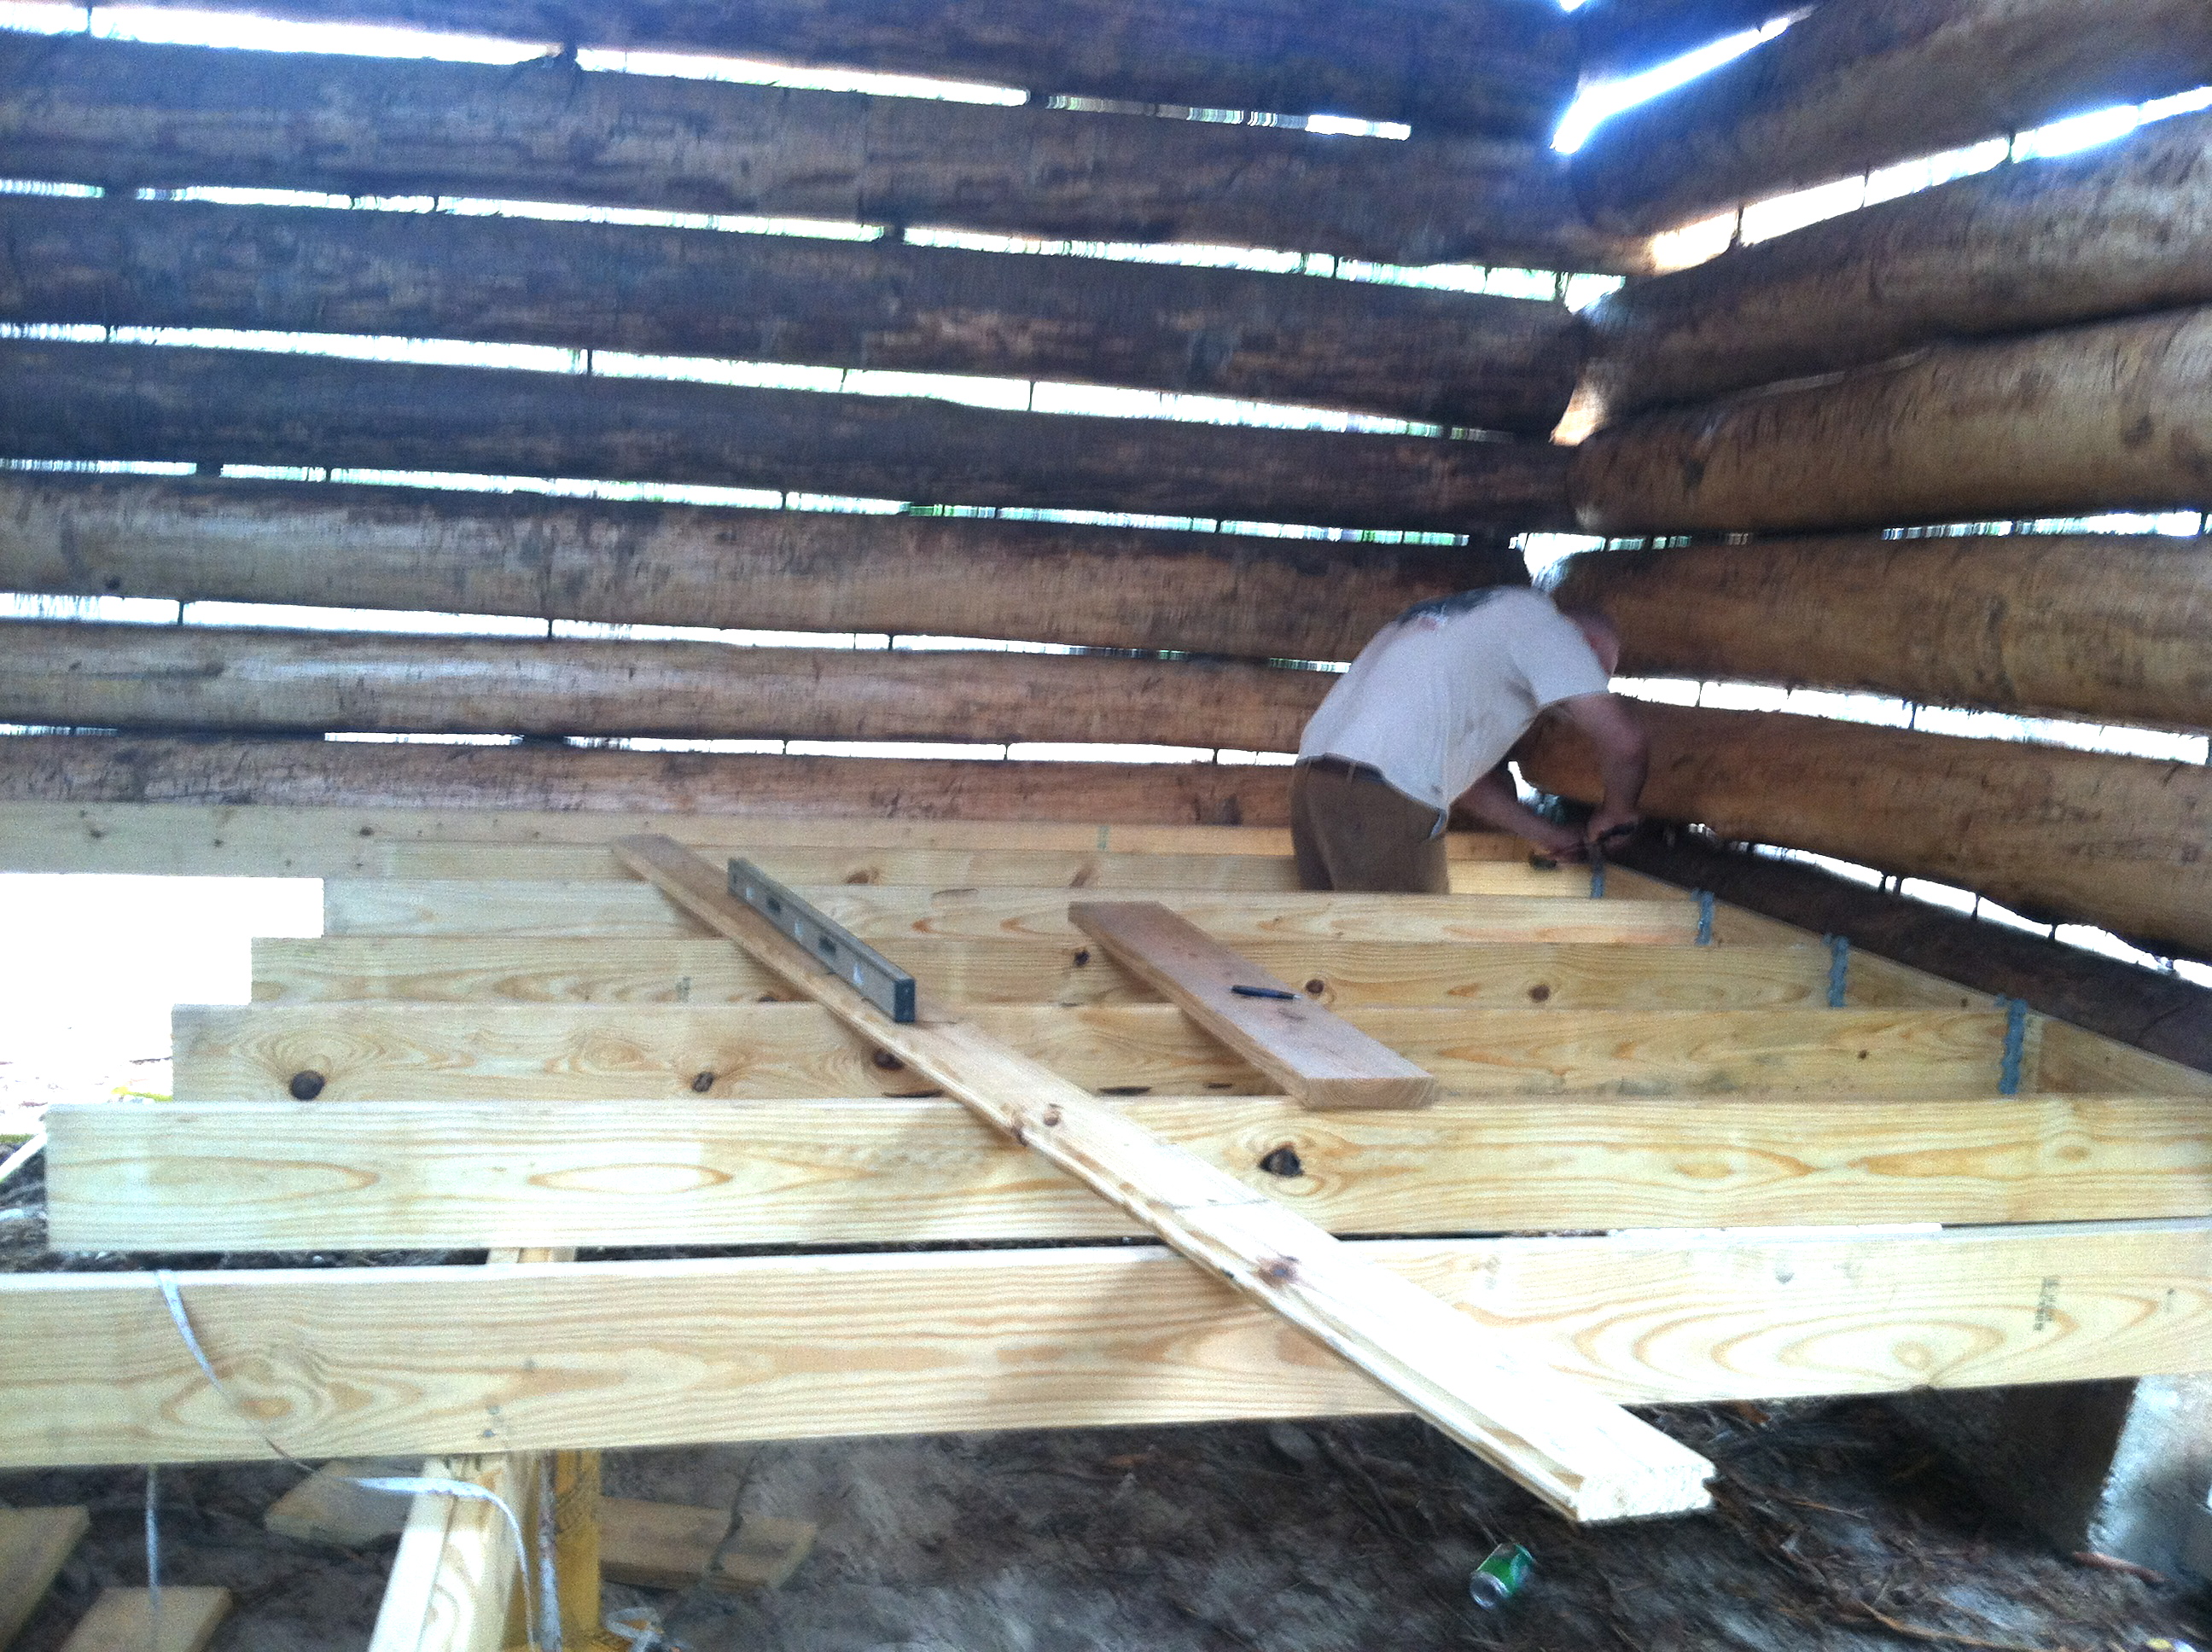
It’s hard to tell in the pic above, but there’s a very dark log at the bottom. The first floorboard couldn’t go flush against a non-straight log, as it could against a flat sheet-rocked wall. So, we will have to “rip” (cut a board down the middle) a board to fit along the edge when we’re done.
This is one of the dilemmas we have discovered with log homes. Nothing is “straight”. So, deciding where to install the very first floorboard posed a potential problem. There wasn’t a flat edge to attach it to or gauge it by. So, we did the best we could, and both far sides of the house will have ripped boards by the walls. But, in both cases, the ripped boards will be under kitchen cabinets, beds, tv cabinets, etc, so they won’t show.
As of now, we are still in the middle of putting in floorboards. He has about 1/4 of the house done.
On to “Treasure at Cottonwood Creek“. Just click the link! Or, if you just stumbled onto this post and don’t know what this blog is about, click here: “What is Cottonwood Creek?” If you want to start from the beginning of our chronological story and watch us build a 130-year old guest house on our land, click here: “Welcome to Cottonwood Creek!” If you want to start reading about our log home build, click here: ‘What to Vegas and logs have in common?”

Thanxs Sledge! You mean burying her face completely like an Ostrich? 🙂 very Reiley, eh?
LikeLike
Awesome awesome post Sledge!! I think the look on Reileys face in that one picture is priceless !!!!
LikeLike